So, my previous PSIO install was a failure. After trying to troubleshoot for a couple hours I gave up and contacted PSIO support. I still haven’t got an answer over a week later.
Next up, I decided to check a few more things, and was poking around checking some voltages from the parallel port, I saw a tiny spark indicating I just have shorted something. Shit…
Well, the PS1 was dead, it no longer fired up.
Yesterday I picked up another one (a newer revision) for $25, and started again. Everything worked perfectly, and the PSIO works!
Unfortunately I didn’t have any more solid core wire, so I had to route things in a completely different way. Oh well, it turned out fine.
2 Likes
Hey, looking good! Glad you got it up and running! Nothing like learning things the hard way huh?
Yeah, a $25 mistake isn’t so bad as a learning experience. I could have messed up a turbo duo or something lol
1 Like
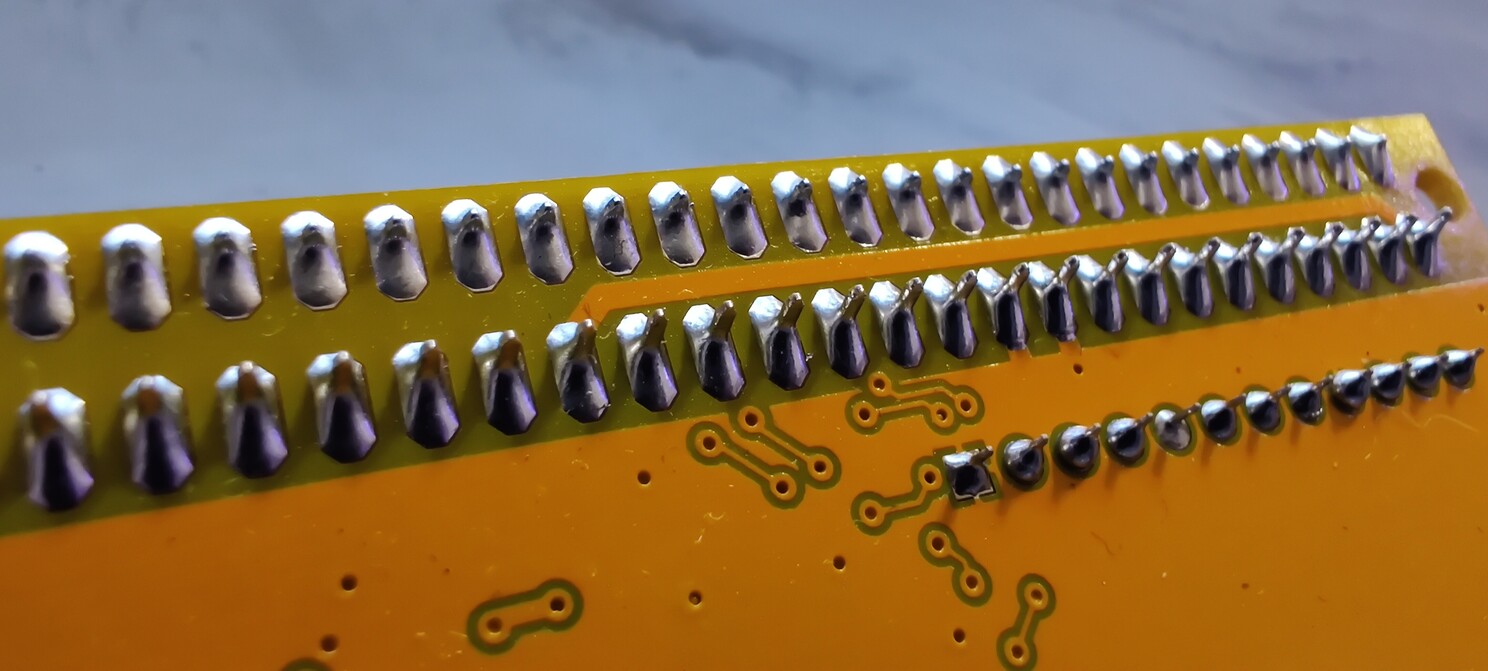
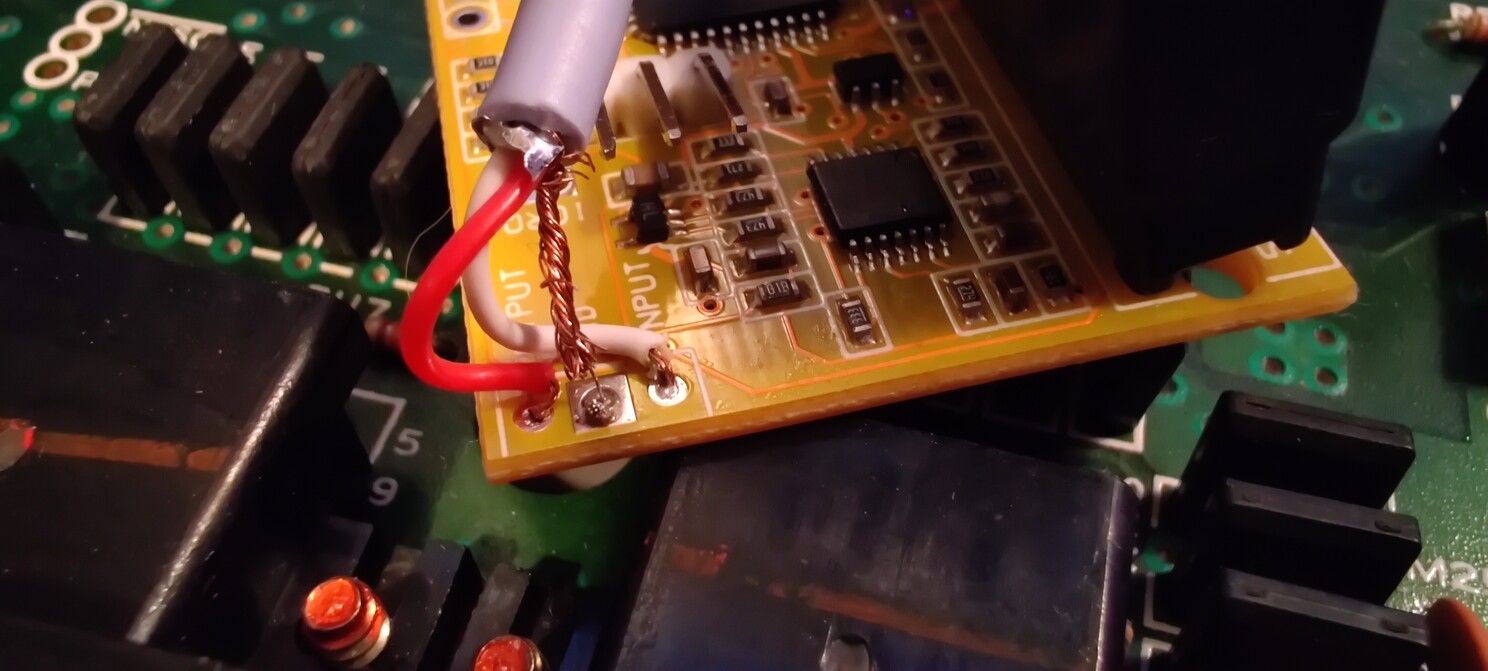
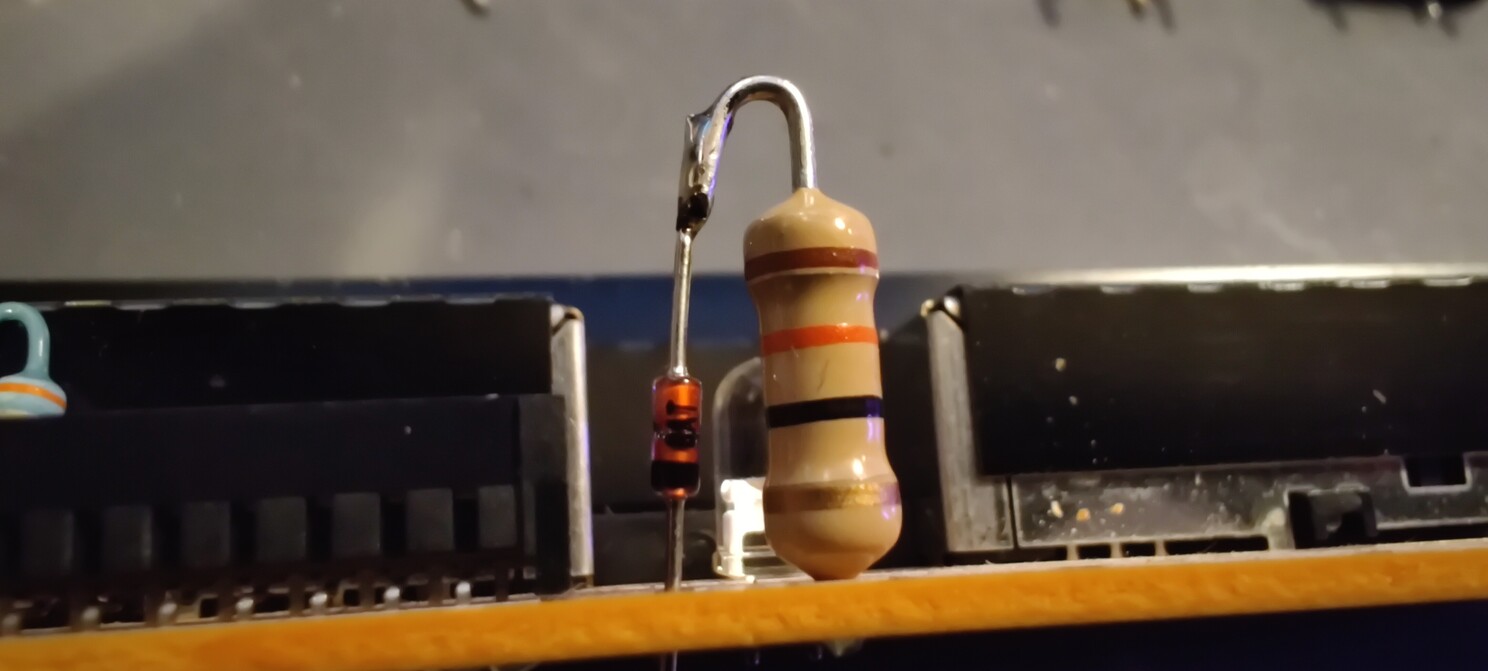
Did my FM mod for my Master System today.
Step 1: Remove C37 from the mainboard and wire up the leads from the mod. The ground wire needs to connect to the ground plane of the board, so I scraped off a bit of solder resist right where the cap usually sits on the board for a nice clean install.
Step 2: Solder the edge connector onto the mod (crooked on purpose).
Step 3: Connect up the switch so you can change sound modes.
Step 4: Beat your head against the wall for an hour because upon testing the system, both the sound and video are garbled.
Step 5: Discover that the soldering on the mod (done by the seller before shipping) is completely scuffed, causing a short between ground and negative.
Step 6: Toss out the cheap grey crap they used and use the remainder of the ribbon cable they provided (more on this below).
Step 7: Beat your head against the wall for another hour because the video and sound is still garbled.
Step 8: Discover that your RGB cable is super hard to push in all the way, and that it works fine when you get the cable inserted all the way into the AV connector.
Step 9: ???
Step 10: It works, and it’s glorious!
Overall I’m very happy with the mod, as it works great… but there was some glaring issues I had to tend with. The attention to detail included with this mod was absolutely terrible.
-
They didn’t include a 3-pin angled header for the switch to connect to, so I had to jerry rig one up from some straight pins I had. The instructions say there should be one soldered on the board.
-
The soldering on the cable connection to the mod was terrible, and shorting from the ground to negative side. Mostly due to the stripped off ends being way too long.
-
The quality of the cable used for the included connection to the audio on the board was so bad that when I tried soldering with it, the little jackets on the wires would melt away a couple mm, leaving exposed wire. I threw this cable in the garbage. I would like to swap out the ribbon cable I ended up using later with a high quality audio cable to prevent noise. I kept the cable length on the ribbon cable as short as possible, perhaps I won’t notice any noise.
-
The instructions on Tim’s site are really horrible:
a. There are no photos of my specific revision of mainboard.
b. There are no photos of the revision of the FM mod board I got.
c. There are no photos of the completed mod.
d. There is no explanation of how to attach the switch to your case (basic to do anyway).
2 Likes
Super interesting. Any backstory for this?
I actually re-read part of it and it makes more sense now. At first I thought that you were fixing a mod to the system that somebody else actually did. Now I see that the mod board its self had issues not that someone else had previously modded the system. Your work looks clean!
1 Like
Ah yeah, it’s a fresh install. I was just really frustrated with the mod until it worked 
Thanks for the kind words!
1 Like
Just a quick note about my install here. The header I soldered onto the mod board is facing towards the outputs on the SMS because I wanted to drill a hole near them to have everything together. This seems like a great idea because it’s a cluster of all the ‘things’ on the back, and you can reach around the back of the console without the cart being in the way.
In reality, the top shielding is in the way. It’s not difficult to make it work like this, but you’ve got to slip the wires inbetween the shielding and the cart slot which isn’t a perfect setup.
In the end, I’m happy I went with this route, as my master system is in on a shelf with very little headroom to the top, so I can’t fit my hand on top of the cart towards the back, so the positioning is great.
If I were to install this for a customer, however, I would put it to the other side, so the wires don’t interfere with the shielding at all.
1 Like
Just posted a review of Alex Kidd in Miracle World
3 Likes
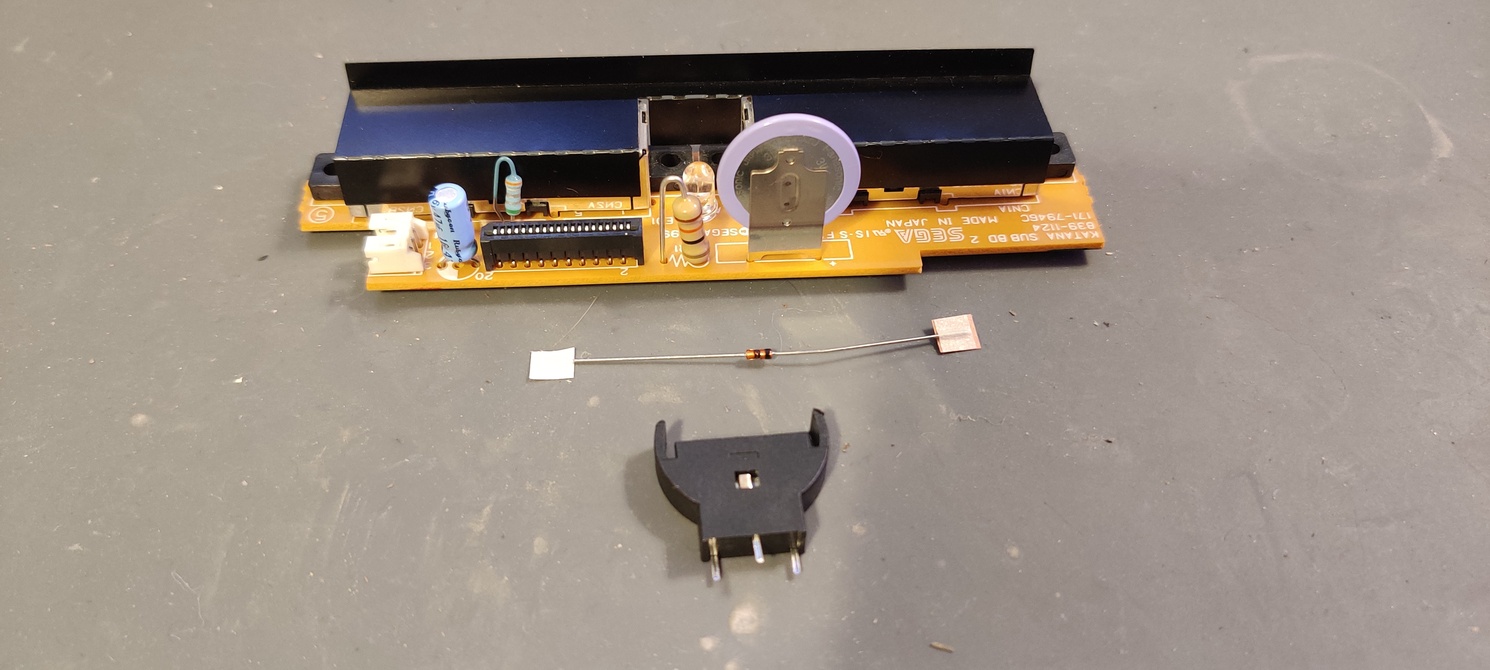
Tonight I did a battery mod for my dreamcast so I can easily replace dead batteries with standard 2032 button cells. No more recharging, as I generally only play in short bursts, so it wouldn’t ever get a chance to charge.
I also recapped my Master System.
One of the vias lifted, so I ended up having to make a tiny little bodge with a component leg, but overall I’m very happy with the result.
3 Likes
Super cool! I love seeing other people’s fixes. I’ve had to do things that way before myself.
1 Like
Posted up a short guide on adding a standard CR2032 battery to your Dreamcast, and removing the recharging function.
2 Likes
Great write up! Super thorough!
1 Like
Completely off topic, but I figure it’s a good enough way to break a hiatus from fixing stuff lately.
Hopefully this gives you guys some ideas about what you’d like to do some battery elimination for.
My 6yr old son got a little air hockey table as a gift, and I was a little shocked to learn that it takes 8 x AA batteries to power it, with no option for a power adapter.
I am not putting batteries in that thing only to have him forget to turn it off!
Easy fix. 8 x 1.5v = 12v. I should be able to find a cheap 12v wall adapter and make this work. I was delighted to find one on amazon that not only would work, but it also came with a really nice little barrel-to-terminal connector, so I can hot glue that in place underneath the table. I won’t have to permanently solder the adapter directly to the table.
1: Solder the negative and positive sides to the appropriate battery terminals
2: Hot glue the barrel-to-terminal adapter to the bottom of the table
3: Plug in the wires.
Easy as pie! Nice thing is that I was able to cut out little notches in the cover, and the battery holder is not obstructed, so I can still use batteries if I wish.
3 Likes
Just posted up a review of Bomber Raid!
1 Like
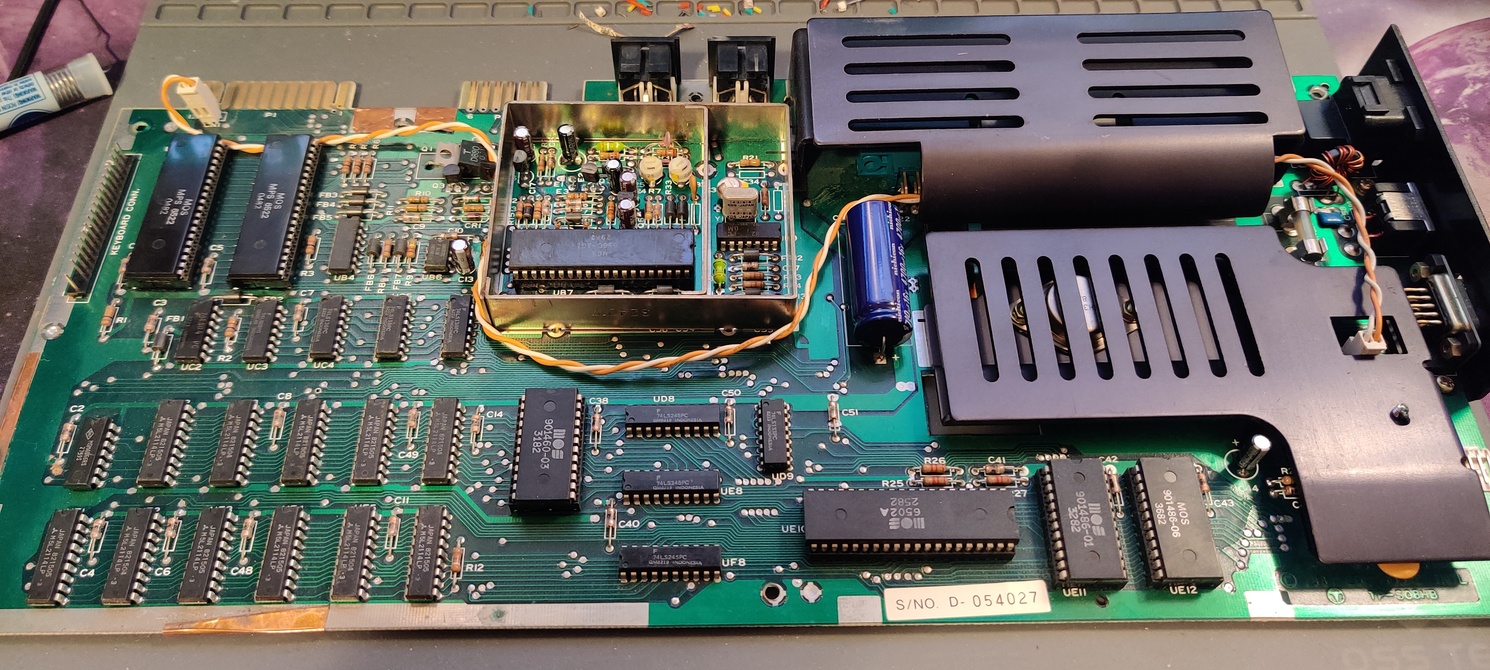
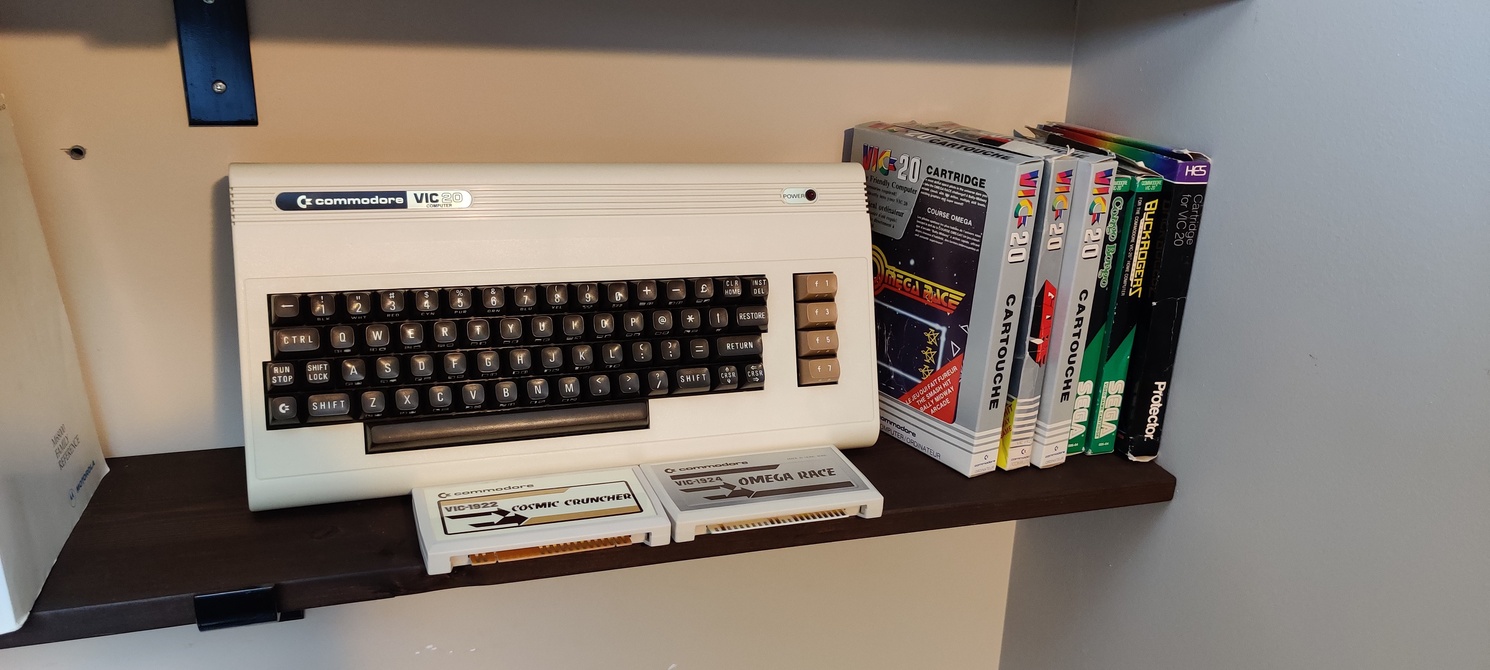
I finished up my Gold Label VIC-20 recap today. Very happy with the results.
It was more of a future proofing than anything, as the unit was perfectly functional before the re-cap.
3 Likes
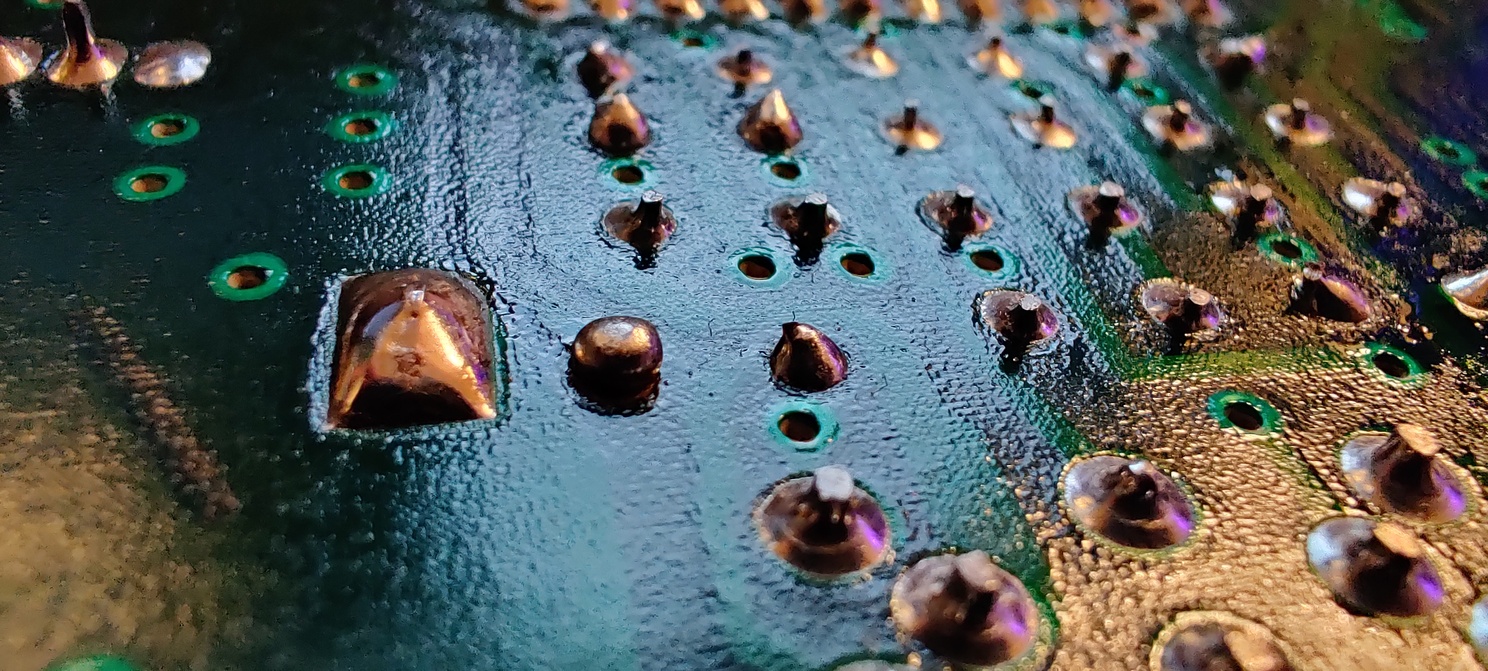
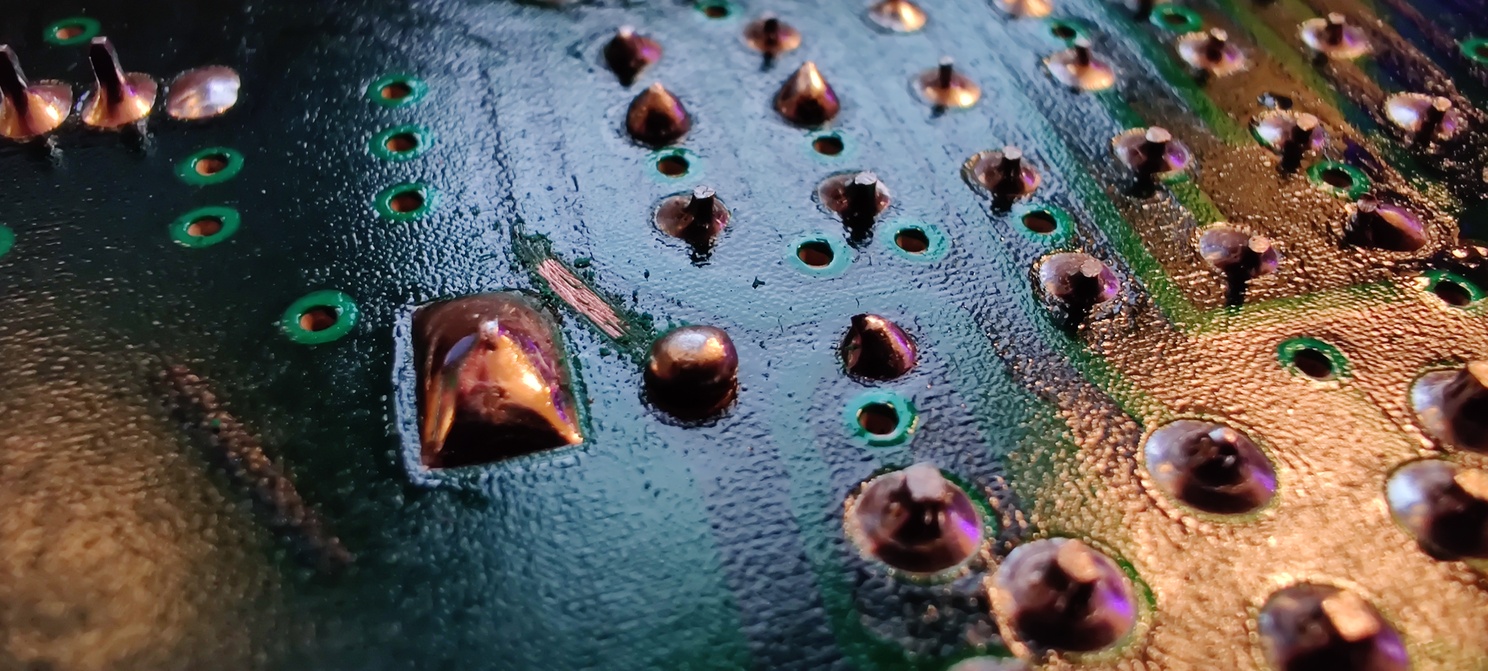
I recapped my TG16 today, what a harrowing experience!
I’ve been playing TG16 more than anything lately, mucking about through the shmup library and having a blast.
To say that I don’t want to mess this thing up is an understatement, and if I do, it would cost me probably $300-$400 to get another one in such great condition like this.
First of all, I love this machine. I adore it. I picked it up a couple years ago and got a really good deal on it. It’s in near perfect condition, and it outputs absolutely amazing RGB quality with an Engine Block.
Secondly, once I was in and removed all the shielding (man, they solder that thing to the board in like 20 places), I realized that I wasn’t the first to recap it. All the caps looked great, and we’re high quality Nichicon caps, but I wanted to go ahead with the work anyway because I didn’t know their age.
Thirdly, the soldering done previously was atrocious! All the joints were cold and balled up, and I could tell when removing them that the previous owner had a real tough time getting the previous ones out. Some of the vias were damaged, and one even got sucked up completely inside my little spring loaded solder sucker. Lucky it was just a ground and was still able to make good contact to ground from inside the hole.
Despite being confident in my skills, I was greatly relieved that it fired up and worked perfectly when I was done. It looks and sounds as good as ever, and I won’t have to worry about it again.
4 Likes