Replacing Japanese SEGA Mega Drive Backup Save Batteries:
I’ve had a few Japanese SEGA Mega Drive games that contain CR2032 batteries for Backup Save Data for quite a while now and decided it is time to check/replace the batteries if necessary:

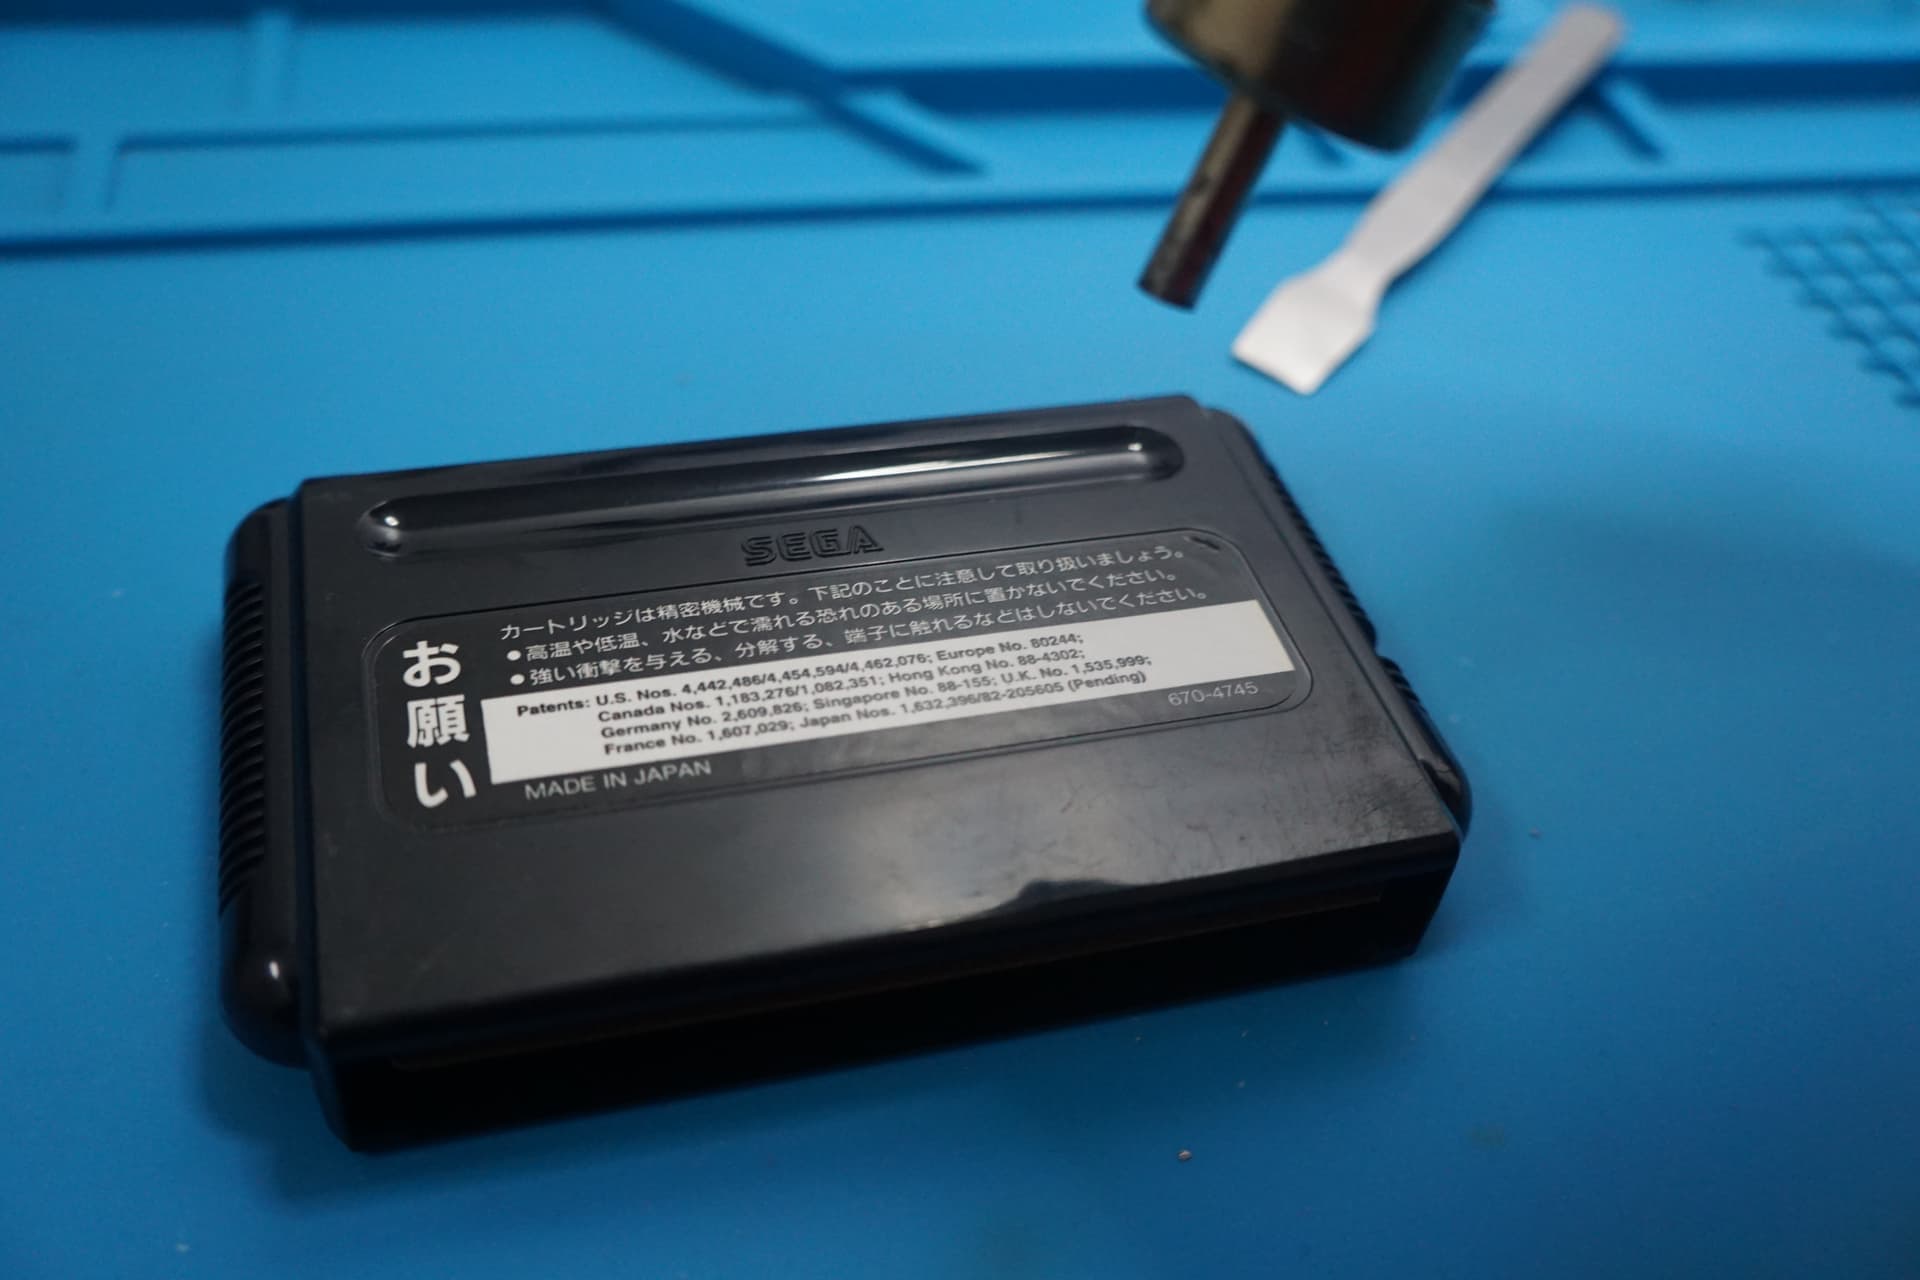
Unfortunately Japanese Mega Drive Carts have the main label going from the from of the cart over to the half of the carts shell:

and worse the screws to open the cartridges are covered by a label:

After a bit of experimentation I have found a relatively safe way to remove the label to get into the Japanese cartridges with little damage caused.
First set a hot air station to it’s lowest temperature, which for me was 100°C and medium airflow:

We then want to direct the hot air at the rear label at a distance of about 2" above it doing a circular motion, trying not to concentrate in any one spot for too long and NEVER over the top of the plastic casing:
After a few minutes you may notice where the screw holes are under the label pop up a little:

If not just keep going with the circular motion and from time to time check by using your fingertips to feel if the entire label feels warm and once it is we are ready to start attempting to remove the label.
Get some flat tipped but rounded tweezers to try to gently push under the top right hand corner at the same time as pointing you hot air station at that point and after a little while you should manage to get under it:

Gently keep pushing the tweezers under until you have enough that you can grip with your fingers:

Now you need to be patient and whilst still heating the label with your hot air station just under where you are pulling up slowly work around the label starting across the top and the finally pulling it down and across.
You can either completely remove the label as such:

Leaving the back of the cartridge clean:

OR just pull up the label enough to access the screws:

Some Japanese Mega Drive cartridges use regular Phillips Screws but other also use Gamebit Screws.
To remove the PCB without damaging the main label you only want to open the cart just enough while it is face down to lift up and out the PCB:

Leaving you with this result:

I only change batteries IF they are leaking or the voltage is lower than 3.1v which in the case of this Phantasy Star cartridge was reading 3.04v, so it was removed.
IMPORTANT: I have noticed a fair few replacement batteries are not lasting no where near as long as the originals so please ensure you use only high quality branded batteries!
I also check the 16v 47µF capacitor inside the cartridges for capacitance and ESR values.
If the ESR value is higher than 0.8Ω or its capacitance is outside of a 15% tolerance in either direction then it needs replacing.
For this Phantasy Star cartridge both read bad:

Both original battery and capacitor removed:

and replaced:

Whilst the cartridge is open it is wise to check the contact pins:

They will likely be a little dirty as above, so just gently use a white rubber eraser to clean them up on both sides of the pcb and finish up with some Isopropyl alcohol if necessary:

You then need to re-assemble the cartridge and then stick back down the label:

If there is not enough stickiness left it may start to lift after a little while so I’d advise getting some non-solvent based paper glue stick such as Pritt Stick to add back some extra adhesion prior to re-application of the rear label.
Now if everything went well at worst you may only be able to observe a very slight bit of label crease damage to the top right hand corner of the rear label:

PLEASE NOTE: If you want to keep your saves you will have to wire up a second battery in parallel before you remove the original battery to keep power going to the SRAM IC or any saves will be lost.
In my case the only saves I wanted to keep were on the Ys III cartridge but its battery was measuring at 3.22v so did not need replacing yet.
