Arcade Game/PCB Collecting: A Thread for Gamers With More Money Than Sense

Nice haul!

That Sega I/O is a good one, too!

The rechargeable battery is in the DIMM, I believe.

Do you have your NAOMI’s display dip switches set to 15khz, or are they at 31khz and are you down converting via other hardware?

Look into hacking together (or purchasing) Dreamcast controller adapters to the MAPLE interface on the NAOMI for VMU and limited DC controller support. (Most of the titles Capcom released support Dreamcast controllers for use. Crazy Taxi even supports in unusual—but unplayable—way.)

If you are interested in a Project Justice cart, PM me.

1 Like

There does not seem to be a lot of information out there regarding the SEGA I/O I purchased, but it is indeed very nice and has full analog button support and adjustable 3.3v powered from the Jamma connector much like the Capcom I/O. Believe it was one of the last JVS I/O’s SEGA produced.

Details for it from the JVS service test page:

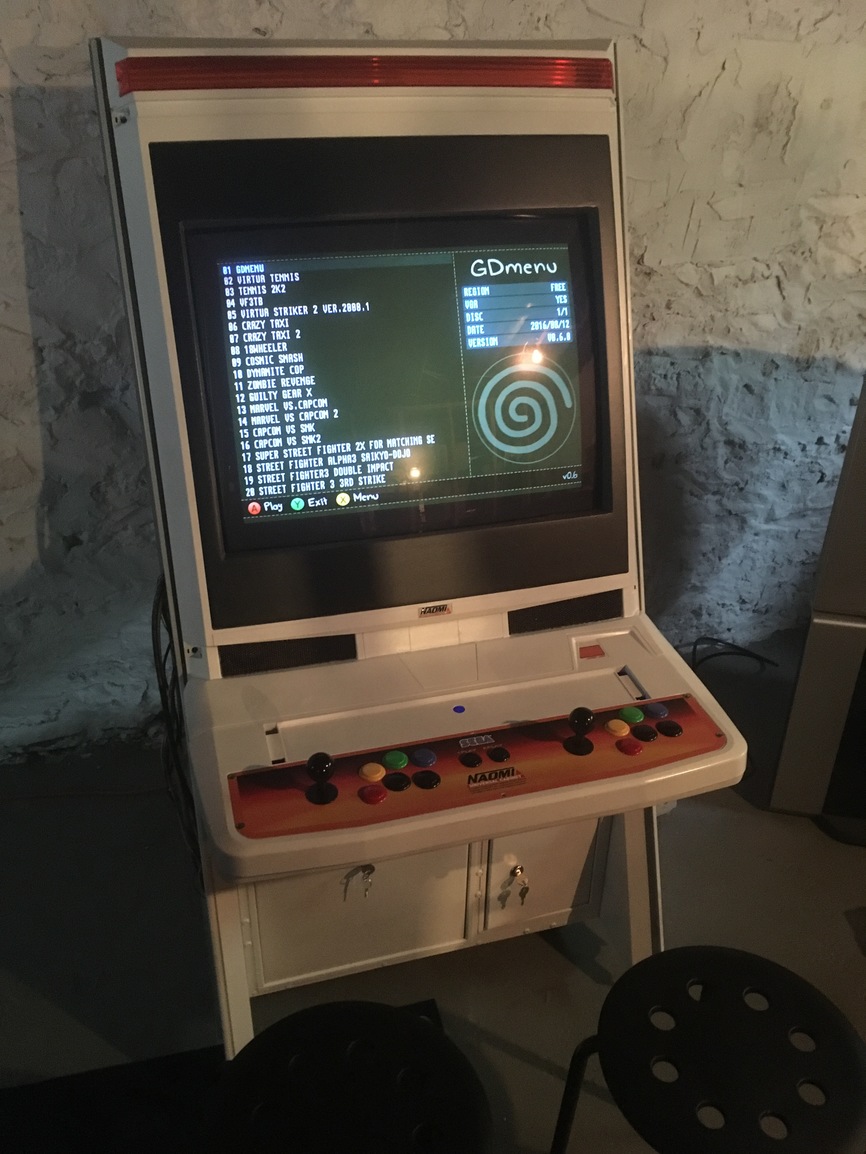
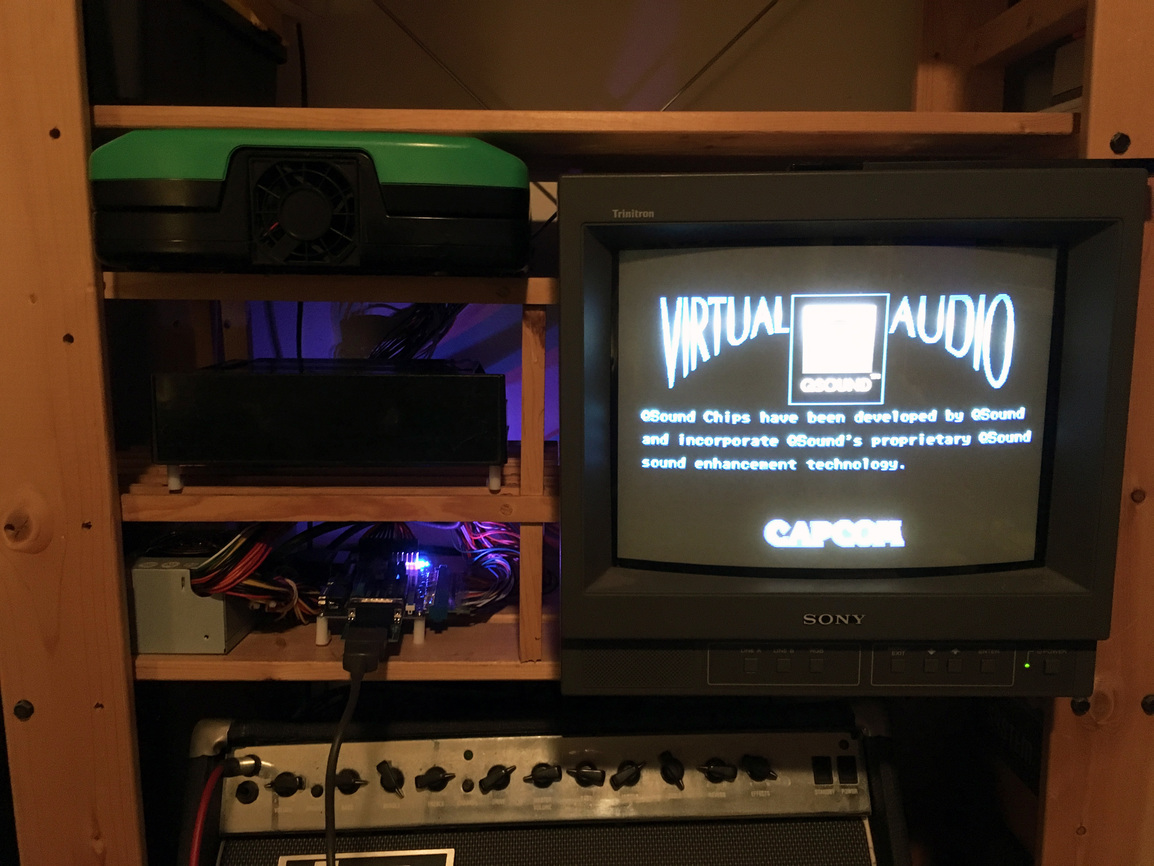
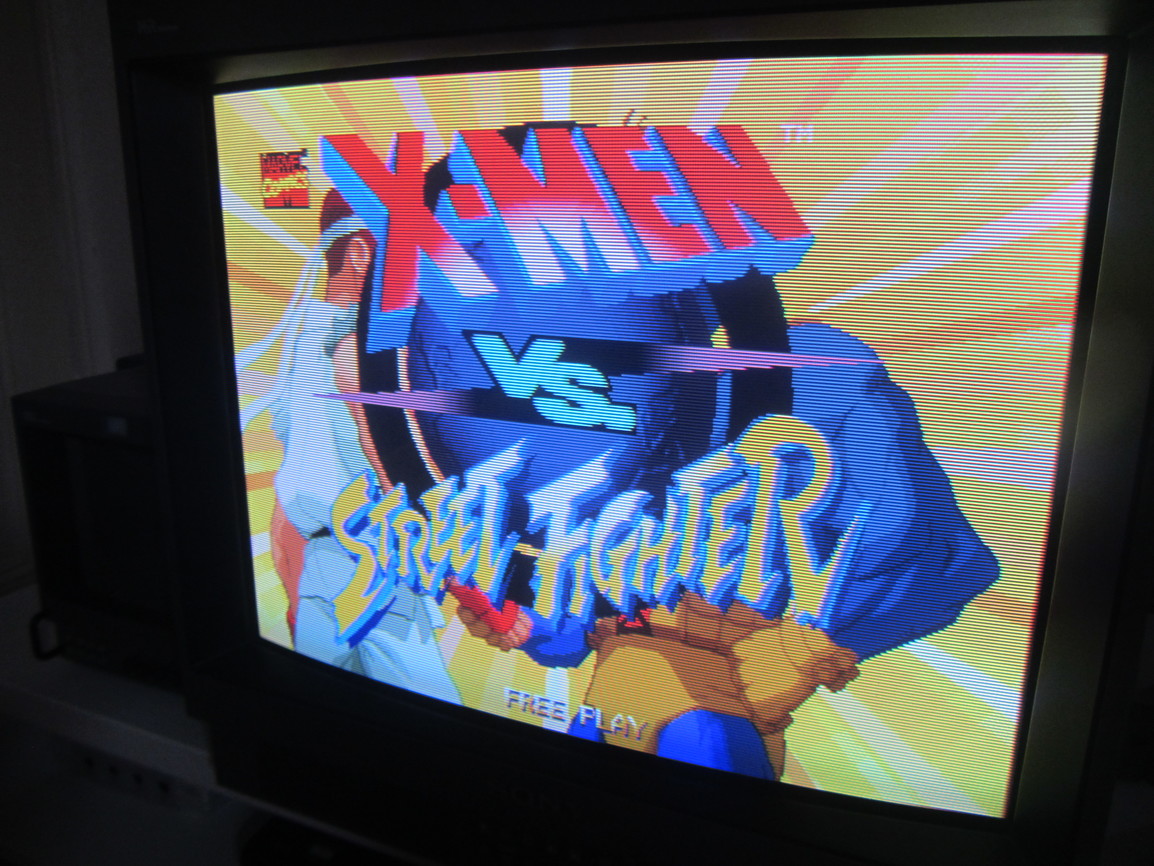
I’m running my NAOMI in 31khz to a VGA CRT Monitor, which I’ll also output my Dreamcast to when I get around to doing an internal VGA mod to it.

15khz mode via DIP switch, just simply does not work directly outputting from the NAOMI itself. I just get a black screen with occasional “squiggles” of coloured lines. I suspect the sync line is out of spec and internally the NAOMI may still be outputting 480p?

If I take the 15Khz output from the Jamma connector after being processed by the SEGA I/O it appears to give out an interlaced 480i image, which is somewhat blurry. The bending/warping of the image at the very top of the screen is only occurring on my 14" PVM. I’m not sure why as it has no issues with anything else.

Nothing to worry about though as even the service manuals state the 15khz signal is likely to be inferior:

15khz

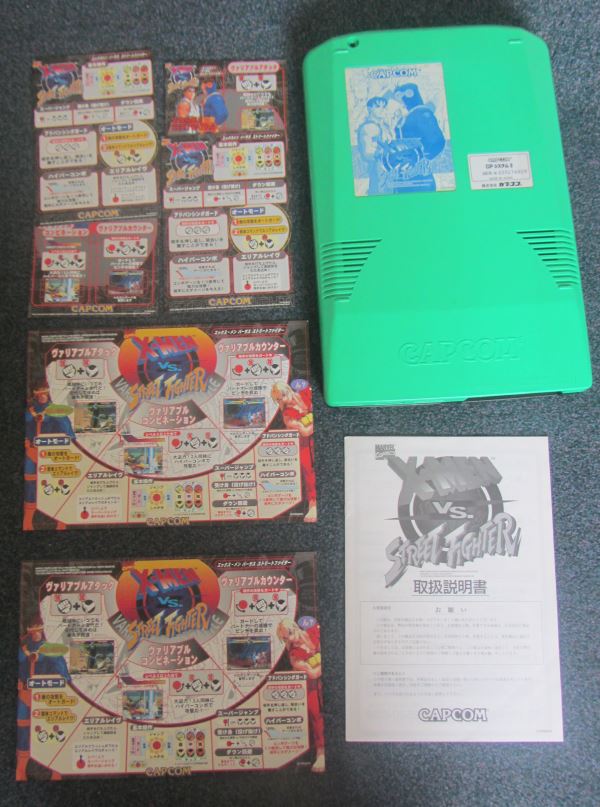
I think the Capcom I/O does a better job of processing the NAOMI’s 15khz than SEGA’s from what scant information I have gathered.

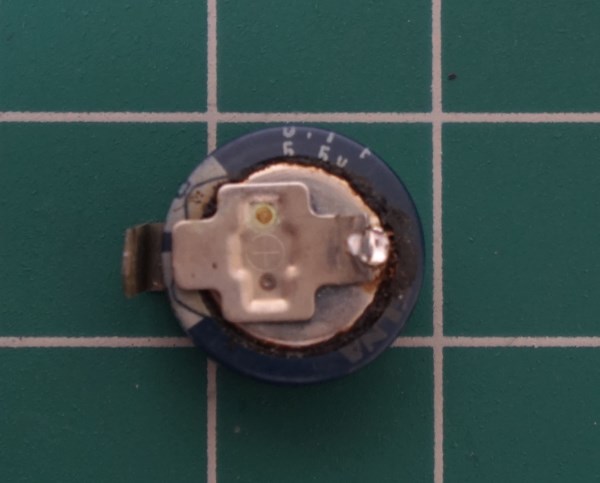
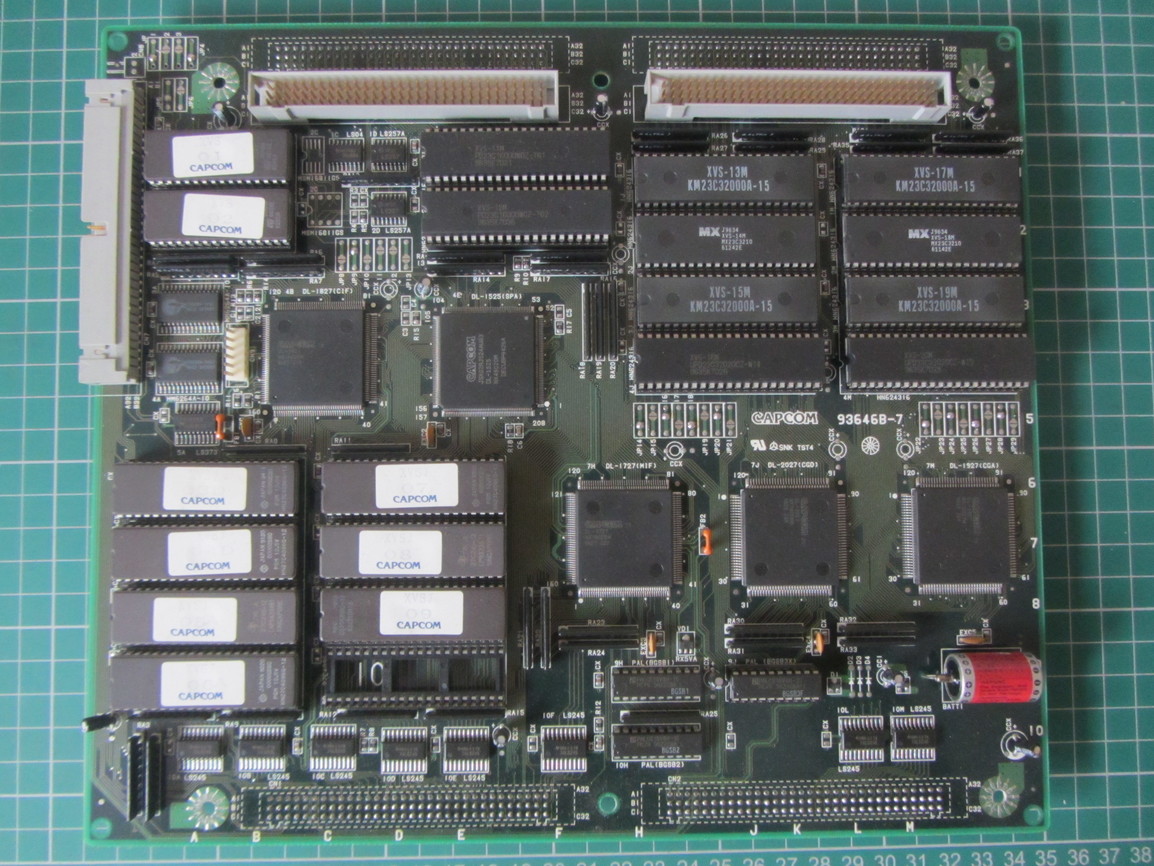
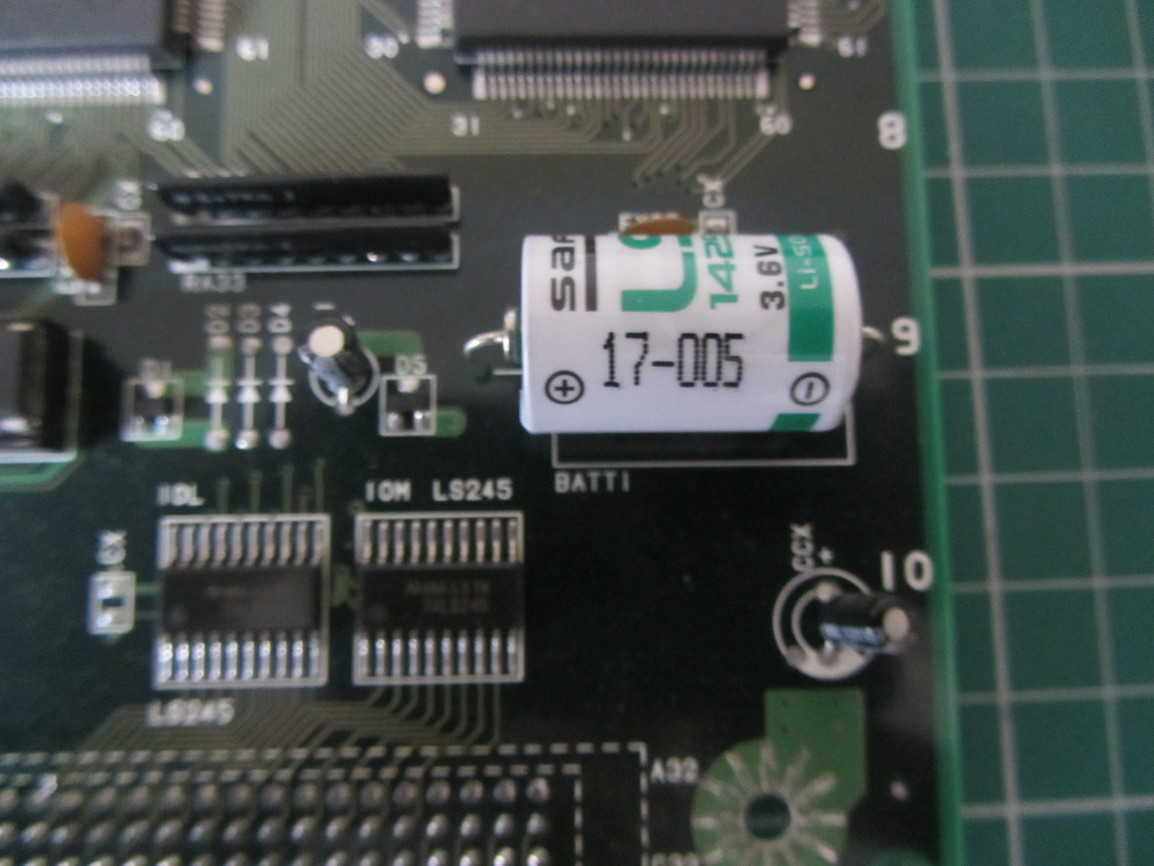
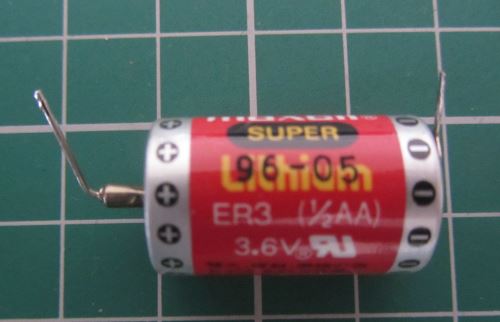
Yesterday I opened up my NAOMI and replaced the CR2032 battery which was really at the end of its life already:

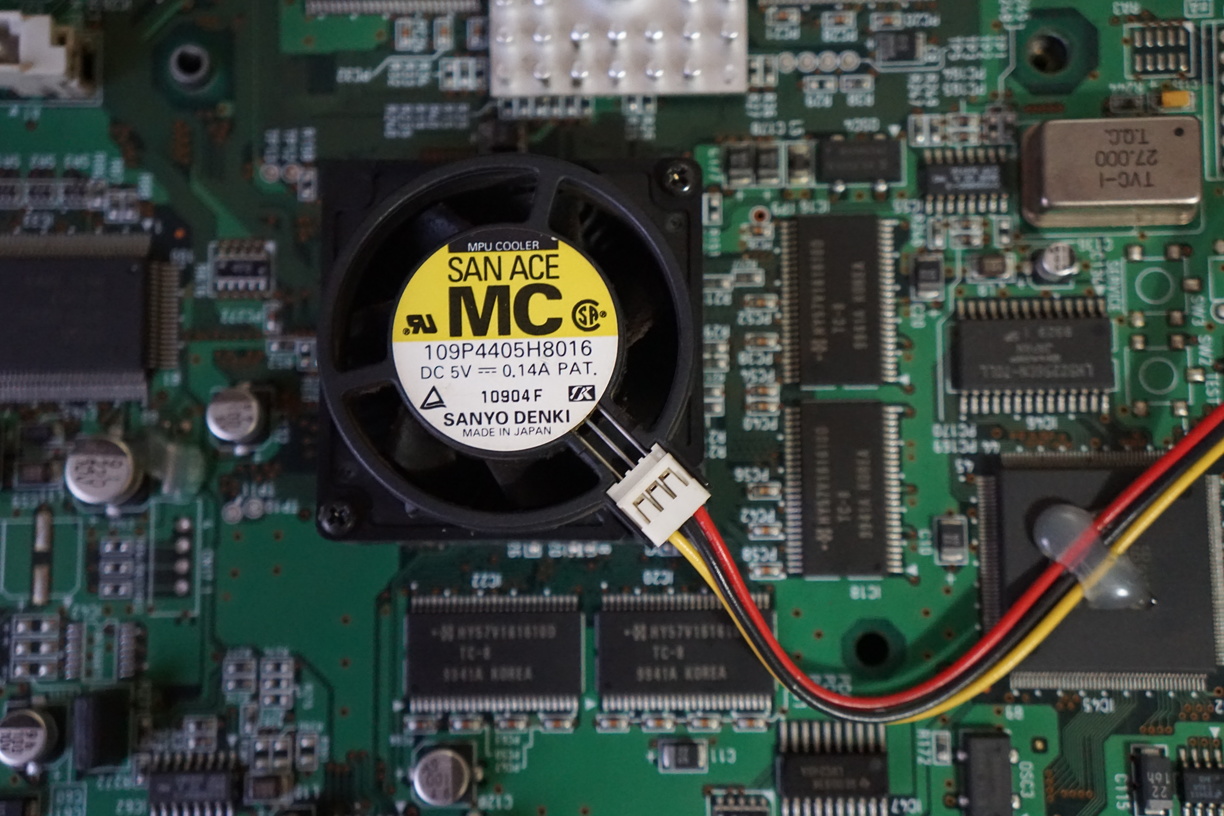
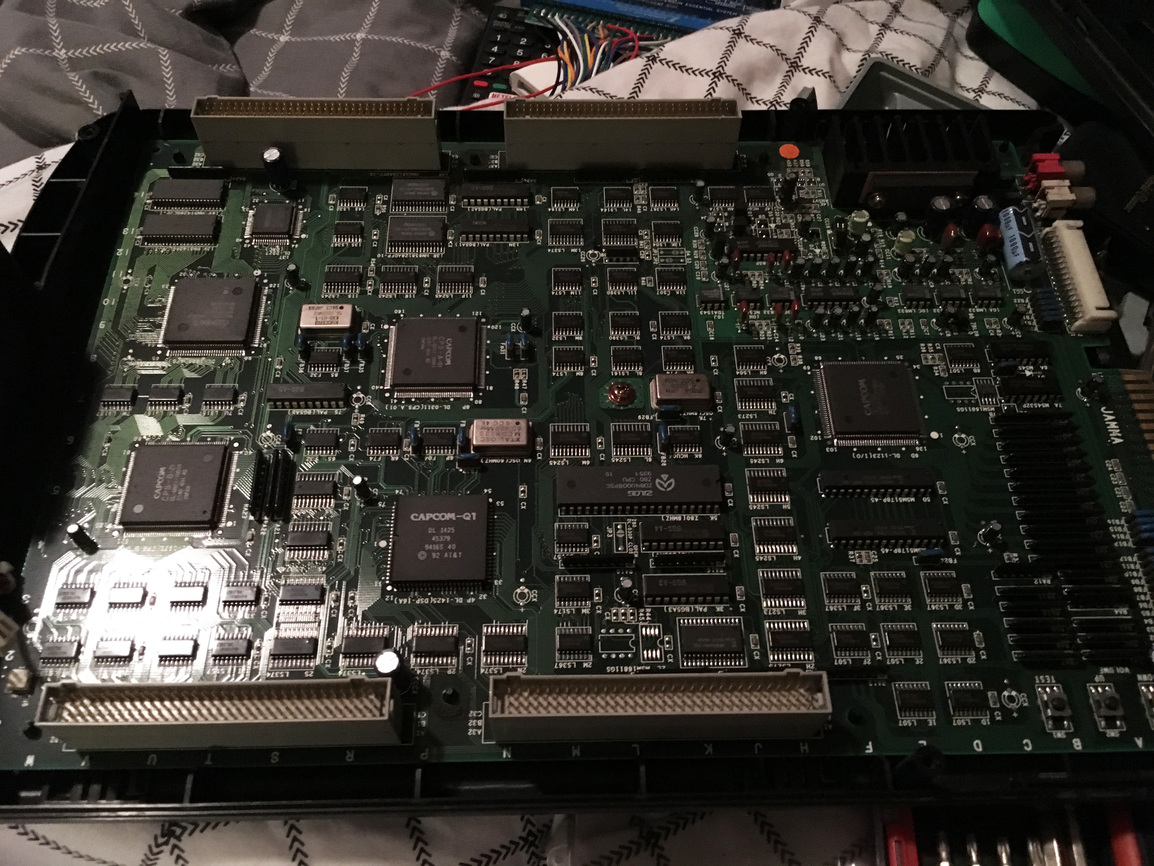
I also spent the time cleaning out the dirt from the CPU fan heat-sink using compressed air…

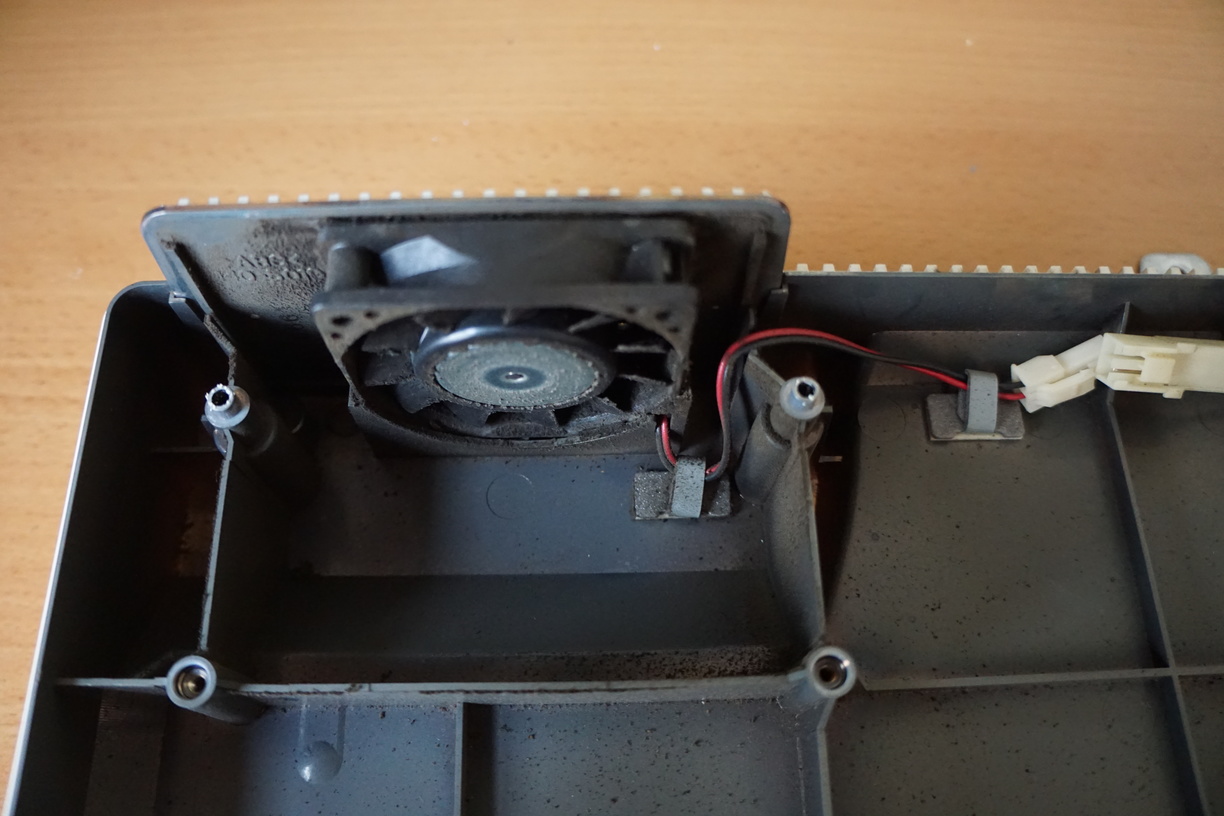
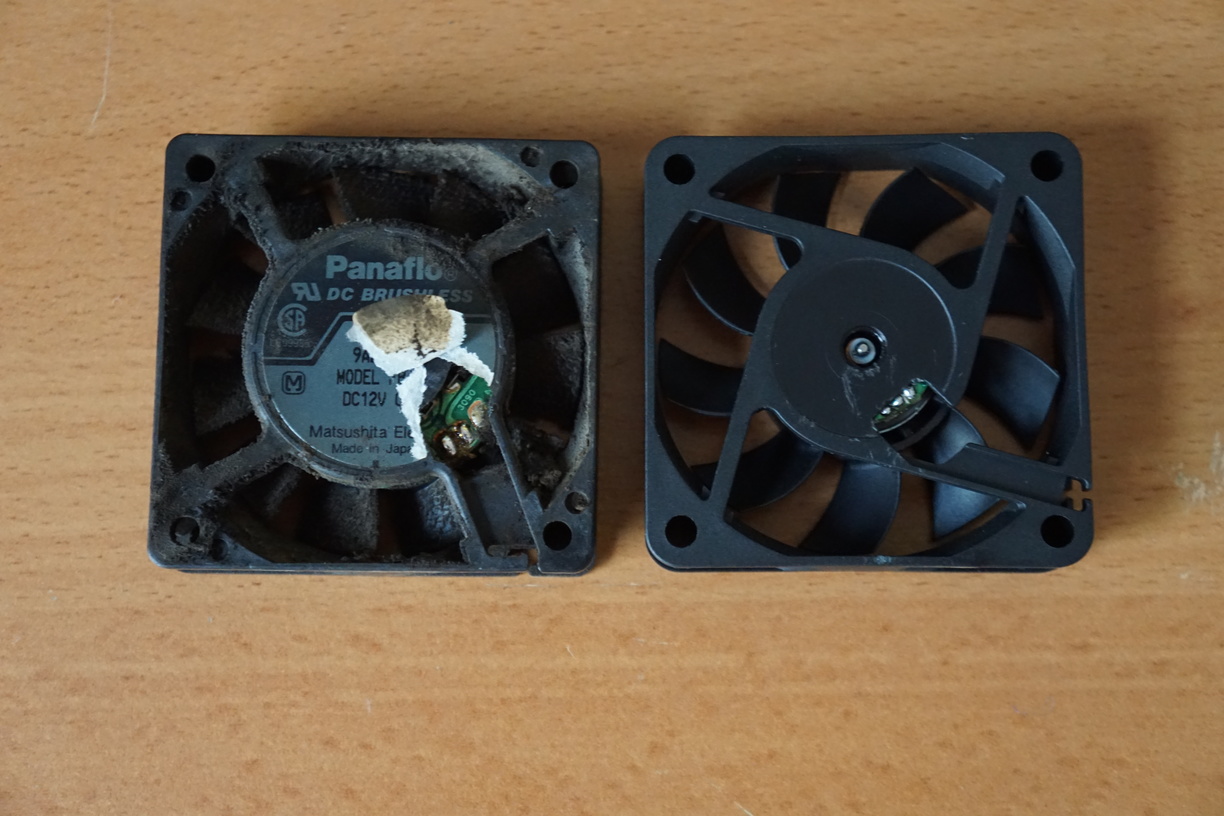
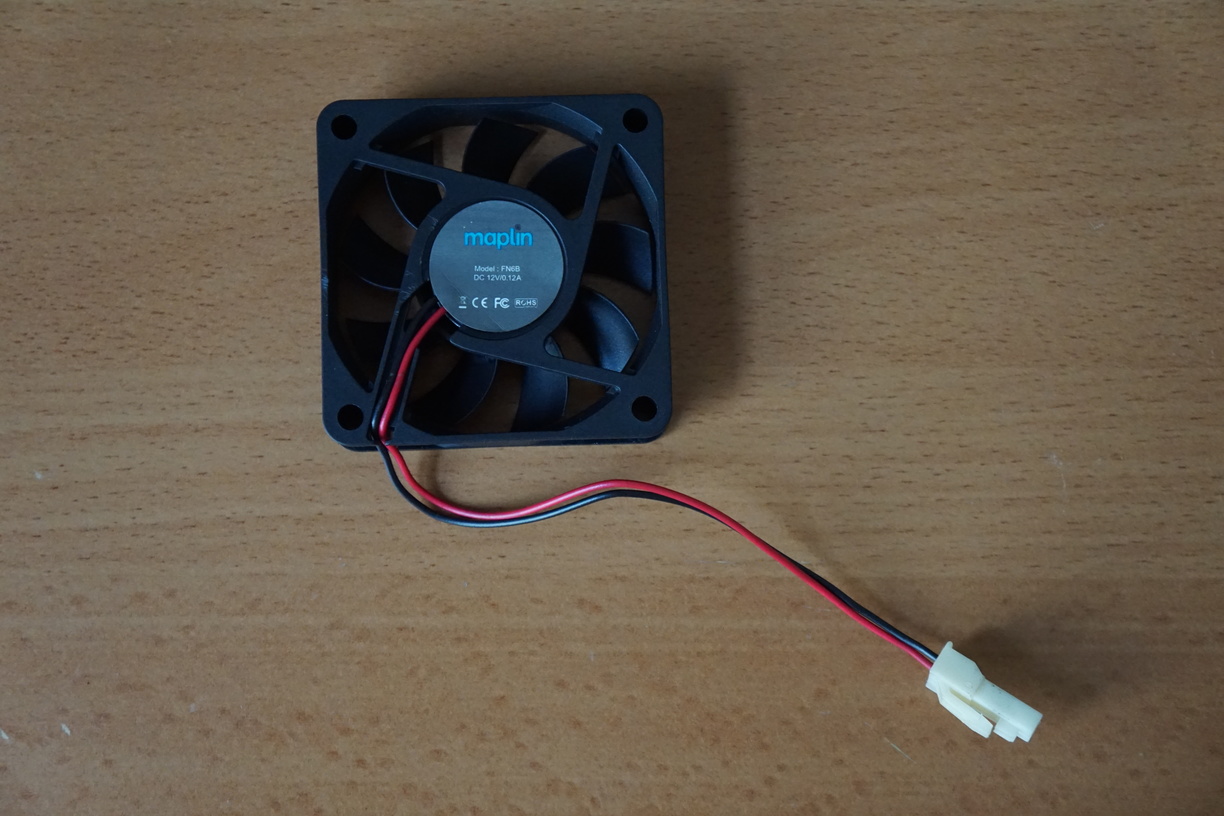
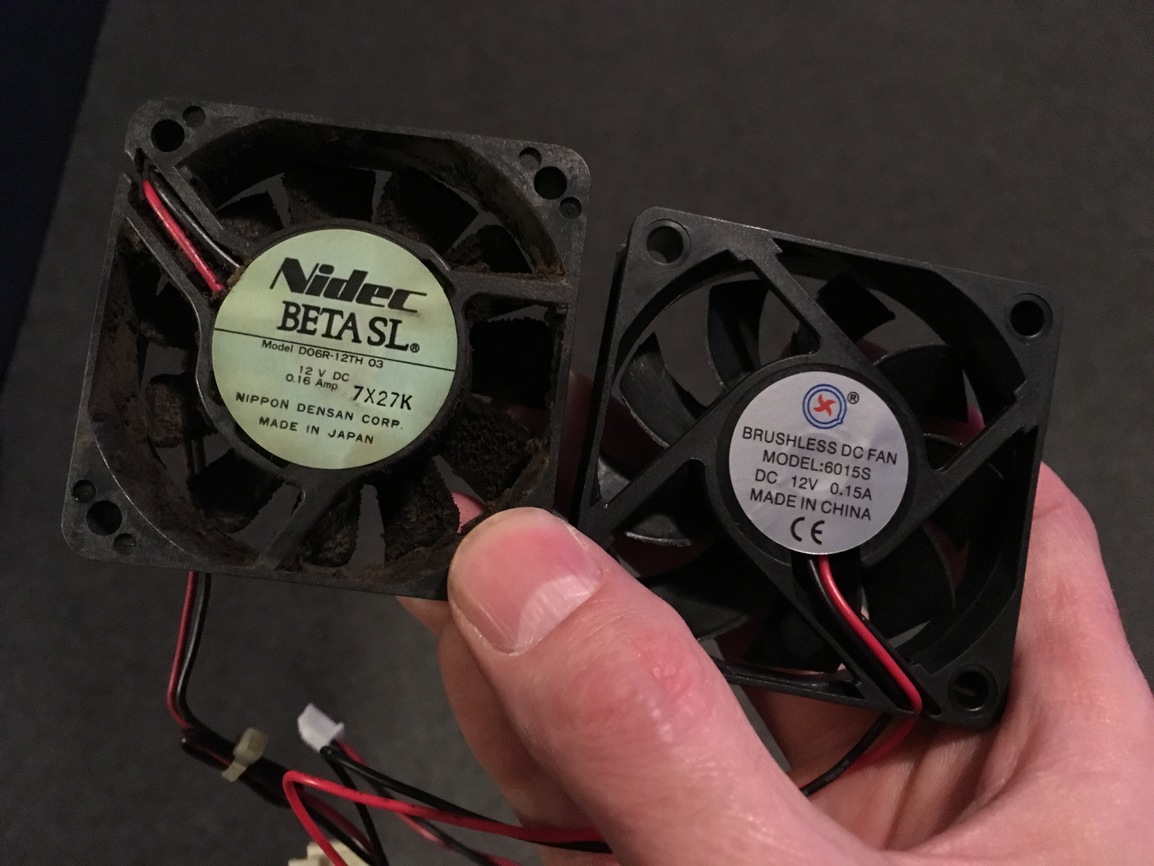
…and replacing the case fan which was really noisy. I had purchased a fan cheaply when Maplins were closing down as a spare for my CPS2 in the future, which is the identical sized replacement so I used that!

Look at all this built up grime:

The connectors and wiring were different so I de-soldered the wires and switched them over.

But first I had to file back the plastic a bit on the Maplin fan to gain easier access to the soldering pads:

I then placed the fans sticker I had to remove earlier back in it’s original placement to help prevent dirt being blown into the fans bearings while in use:

Finished result:

My NAOMI is now a lot quieter and with a better airflow rate!

I do need to purchase a super capacitor and replace it sometime. But it does contain and hold a charge now and is not leaking so no rush quite yet, which means savings are now setting persistantly as well!

2 Likes

My GD-ROM drive arrived today with Capcom vs Snk 2.

So I quickly put together a makeshift setup due to the current lack of space:

I wasn’t quite sure if it would work with just power off the Jamma Connector and no external PSU as it appears you can’t do that with a CAPCOM I/O but it starts to load the GD-ROM!

And then starts to play the game! :smile:

Was quite worried about the BAD status I was getting with my Dimm Board when I previously tested it via the service menu with no GD-ROM attached. However after attaching the GD-ROM and loading a GD-ROM into memory all the tests passed when I tried them again. Success!

Only thing is that fan in the GD-ROM is so darn noisy… So much for getting the NAOMI quiet with the changing of the case fan. Seems I have another fan to change as well now.

5 Likes

I made some progress with my control panel. I just need to hook up the LED lighting in the header to replace the fluorescent lighting fixture, and put the aluminum side panels back on the legs somehow. (My super low basement ceiling could prove to be problematic for this part…)

I also plan on creating a custom instruction art for the control panel in-lay. (I’m thinking something that explains how to navigate the GD-EMU, reset to menu, etc.)

5 Likes

Really not loving the Super Capacitor that the NAOMI has installed…

Got a suitable replacement as I heard they tend to go bad and should be replaced.

The one in mine didn’t look too bad from above but as soon as I started to try to remove it the negative leg crumbled and of course since it is attached to a very large ground plane, part of the leg is now stuck in the via and I have so far been unable to remove it… Thinking I may need to find a small jewellery drill to get it out as all normal methods of solder removal aren’t working to help remove it.

Has you can see it is in terrible condition:

NAOMI-SuperCap

For now I’ve scrapped away the ground a little and surface mounted the negative leg of the new replacement super capacitor and it works as a solution to the issue but I’d still rather clear out the via and solder it through hole properly.

bodge

Lesson is to replace or remove that damn thing ASAP on any NAOMI’s you come across.

1 Like

When you said you dabbled in soldering I thought oh maybe there’s hope for me. You undersold/underplayed yourself by a lot lol. Love your posts. Always some cool shiz happening. Also CVS2? :+1:

1 Like

Cleaned the CPS2 up, replaced the noisy old fan with a new one (still too noisy… will adjust the voltage next), and now have my permanent supergun setup on the PVM, CPS2 and MVS.

3 Likes

This is amazing stuff, so jelly for that CPS2!

So… new chinese Superguns with Saturn pad adapters built in

https://www.aliexpress.com/item/-/32843857003.html?spm=a2g0s.13010208.99999999.259.25cc3c004npTUA

Also cheap CMVS

https://www.aliexpress.com/item/JAMMA-CBOX-without-MVS-motherboard-Play-with-15P-SNK-Joypad-SS-Gamepad-for-Game-Cartridge-It/32889066696.html

1 Like

But that CMVS doesn’t come with an MVS board!

An MVS board is like $20.

You can also get one with board included for a few bucks more.

https://www.aliexpress.com/item/JAMMA-CBOX-Motherboard-MVS-1C-to-DB-15P-SNK-Joypad-Gamepad-With-AV-RGB-Output-Notice/32851039903.html?

Very interesting! Thanks for the links.

Both of those look pretty nice! I wouldn’t mind grabbing that CMVS-kit. I’d love to hear hands-on impressions if anyone else pulls the trigger.

This doesn’t look too bad, though I do think it is a bit pricey and of unknown build quality.
Think I am more and more heading to the side of I would just prefer to use a harness for direct wiring instead of a supergun altogether and just have a direct connector for RGBS (DE-15) and two DB15 connectors wired up to the AES/MVS pad configuration. Though kick harnesses tend to mess this up a bit.

As posted in the RGB Pick up thread received a new CPS2 Game today which was still running on its original battery and thankfully had not suicided yet.

So its time again for the part I hate the most in CPS2 collecting… The risk of suicide during change of battery!

Thanks to Arcade Hacker it’s not too difficult to de-suicide CPS2 boards anymore but I just don’t have everything required to do so at present.

Before doing anything I powered up the board and let it play for several hours just to ensure that the capacitors nearby would have a full charge in the case this had not been powered on for a long time.

Opened up:

I always get all my tools ready and the soldering iron up to temperature before I start and less than a minute later the battery is removed and replaced with a brand new one:

Removed Battery:

battery

You can not really see it in the photo but there is some corrosion on the positive terminal of the battery

Gave it a quick second check before re-assembling and now its good again for another 5-10 years.

5 Likes

My favourite CPS2 game right here. It feels so good to play and look at.

1 Like

I can hear that title screen just by looking at that image !

1 Like

Good lord, that PCB is loaded with thing-a-mah-bobs. CPS2 boards seem to have a lot happening under the hood.

And that’s just the B board, the A board has even more going on!

Wow.