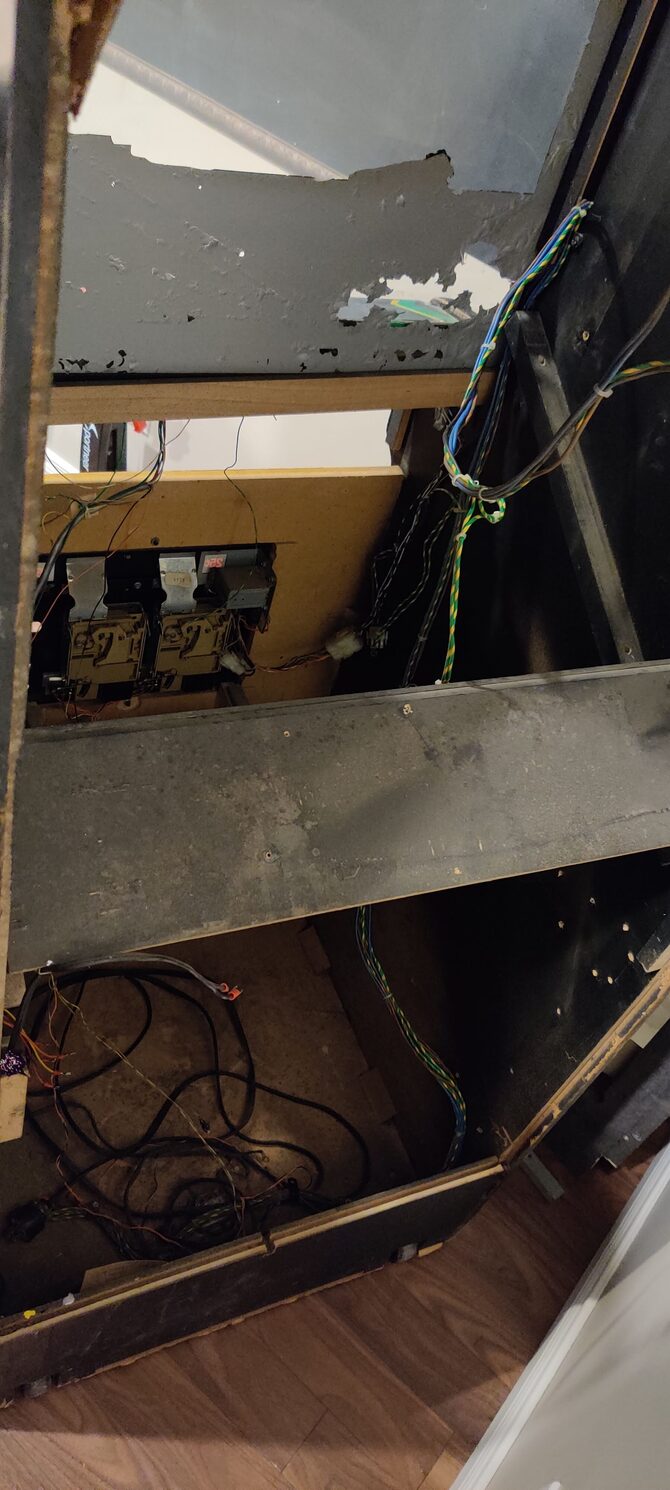
I took some more photos and inspected the cabinet a little closer last night, and found some good and some bad. The cabinet is actually coming apart a little, so the front yellow panel that houses the coin door is separating, and you can see a gap where the side of the cabinet is separating. I’ll have to remove the yellow front and repair it, then I can reassemble and stiffen the cabinet up to strengthen it.
Overall the cabinet looks nice, and the artwork is pretty good on the sides and front. The kick plate artwork at the bottom is mostly rubbed off due to years of use, so I’ll have to replace that.
The metal base of the control panel itself is original, but there is some generic artwork slapped in there, and they installed a joystick in the spot where the spinner goes. It looks like the previous owner was using it for an R-Type conversion. This is a great find, as I now have exact measurements to get my custom control panel made up.
Lol no shots of that because it’s not included! It’s a bare cabinet, so no CRT, PCB etc.
I’ll try and satiate you though, this is the 21" curved trinitron I’ll be attempting to fit in there. Fired it up for the first time today and it works and looks great.
I’ve been holding on to this stupid thing for at least 2 years now, trying to find a use for it. I picked it up for free, and this seems like a good of a use as any.
If I may, I’d advise at sticking with a genre or manufacturer or small timeframe of game releases instead of just throwing everything in there.
You’ll be able to fight that urge to switch games quickly and I’ve personally found that it’s more interesting from a video game historian perspective. I enjoy seeing the progression that a company like Taito or Capcom made from the 80s to 90s.
Also, if you’re fashioning the CRT mounts, you could try to make them easy to take out and rotate the monitor for vertical games.
Thoughts on the MAME setup? Not really sure right now, but I spent a bunch of time setting up Launchbox on my PC, so I would probably use some sort of front end like that. I was thinking it would be cool to arrange the games either chronologically or by genre AND chronologically, so it would be easy to find something you’re in there mood for. Want to play an 80’s shmup? Go right there and browse them.
I also like the idea of browsing by the developer.
Rotating the monitor is something I’ve thought about, but not certain how I would make that work. It would be an amazing feature though.
I’ve mainly dealt with Japanese candy cabs, some which offer an assist mechanism (Egret) but mostly ones that don’t (Blast city, Astro city, Super Neo). The assist mech is handy but it’s really not needed, especially for a lighter monitor.
Omega Race uses a mirror system to project the image right? So you’d already have to fabricate some sort of chassis for your monitor to fit facing you in the traditional sense. Or maybe the chassis is included already when you tear the casing off the monitor you have?
Regardless, to do a tate mode that isn’t a pain to change, you have to make a square bracket with forward facing studs. You don’t want to have to reach in through the back of the cabinet to do rotate it.
Those studs are your attach points for the monitor chassis. You’d only have to drill holes that fit for both normal and tate modes. You can even build the monitor chassis so that the 4 holes fit the studs in both modes.
This might give you some detail on how it’s normally done:
I’ve probably rambled a bit here. But I do think it’s worth doing, especially if you like shmups and/or golden age games.
Thank you for the info! The whole monitor assembly including the mirror is gone, so all I’ve got is the wooden plate that the monitor would normally mount to. Suffice to say, I’d be building the mount and rotation assembly myself.
I think I would want to build something that I can rotate easily on the fly. Leave the back door unlocked, reach in and rotate with one hand. That sort of thing.
I’m sure it could be done, but I’ll have to do some significant building to make it happen.
Picked up the PC that will operate this thing. It’s an i7 6700 and 8GB RAM. Definitely way more than I need for this use, but it was an absolute steal. Similar price usually gets you around a 1st gen i5 in a crappy Dell case, so this was well worth it.
The artwork on the back of the bezel glass is flaking so badly that there’s no way I can repair it. I’m sourcing a way to get new artwork for it, so I can scrape off the old paint and put some new vinyl there.
The kick plate artwork is really bad, and I’ll have to replace it. I’ve spoken with about 10 shops that do reproduction artwork, and not a single one can do it. This leads me to believe that there is no scan done of it!
There are several nice photos of it online though, so I’m going to try and recreate it in a vector format so I can supply it to the arcade print shops. That’s going to be a herculean task, but I’ll give it a shot.
And… For some good news, I created my first draft of the custom control panel. The green dots are where I’ll be drilling for buttons and joysticks. The one that’s sort of floating out in the middle is for a spinner.
The artwork is very nice. I would reconsider the amount of buttons you have.
What encoder will you be using for the controls connection to the computer? A lot of them have shortcuts for ESC, Tab, Pause, Coin, etc. built in so you don’t have to have so many buttons. Even if you don’t go that route, you can try to hide some of the smaller buttons off the the side of the control panel or under it.
Also, will you be playing a lot of street fighter games? Or maybe a lot of console games that require shoulder buttons? If not, I think you’re safe to go down to four buttons for each side.
If you want to stick with the six button route, possibly consider a more ergonomic layout. You have a Capcom/American style layout which is okay, but I vastly prefer any Sega/Japanese layout. It makes it much more comfortable to play for any extended amount of time.
I considered 4 buttons, as I’m not into fighting games myself… but the only reason reason I would want 6 per side is for street fighter 2, which I do like and it would be fun to play with friends.
I will have console games on the system, but I would imagine most of the play will be arcade. 8-bit console games would work great here, but I think the greater complexity of games on 16 bit hardware and later lends itself to playing on an actual console more.
I completely agree on the straight layout, and I even went with a more modern style for my arcade stick. The only problem is that I wanted it to look old-school to match the rest of the cabinet. Maybe I should alter the design as you suggest and see what it would look like. If it doesn’t look too out of place, it would be preferred.
As for the additional buttons… I could look at other options. I don’t like having so many on there, but I’m very much against modifying the cabinet itself to put in hidden buttons. I want to keep it as original as possible, because of my love for the game and that these cabinets are quite rare.