Neo Geo MVS 2 Slot (MV-2F) Refurbishment:
Back in February 2018 I bought a untested and possibly faulty Neo Geo MVS MV-2F that the previous user had tried to consolise but never got around to finishing the job.
Unfortunately the original ebay listing is no longer viewable and for some reason I don’t appear to have taken any other photographs of the unit untouched at arrival.
First Job I had to do was remove all the wires soldered directly to the Neo Geo:

The bad news was that the JAMMA edge contact pad “P” which is Video Sync had ripped off the PCB but thankfully the trace was still intact.
So using some high temperature epoxy (DO NOT use super glue as it can be conductive and when you apply heat it will give off toxic fumes, use something like Circuit Works CW2500) I bonded the JAMMA pad back down onto the PCB:

Using De-Soldering Braid I then removed as much solder as possible from all the JAMMA pads:

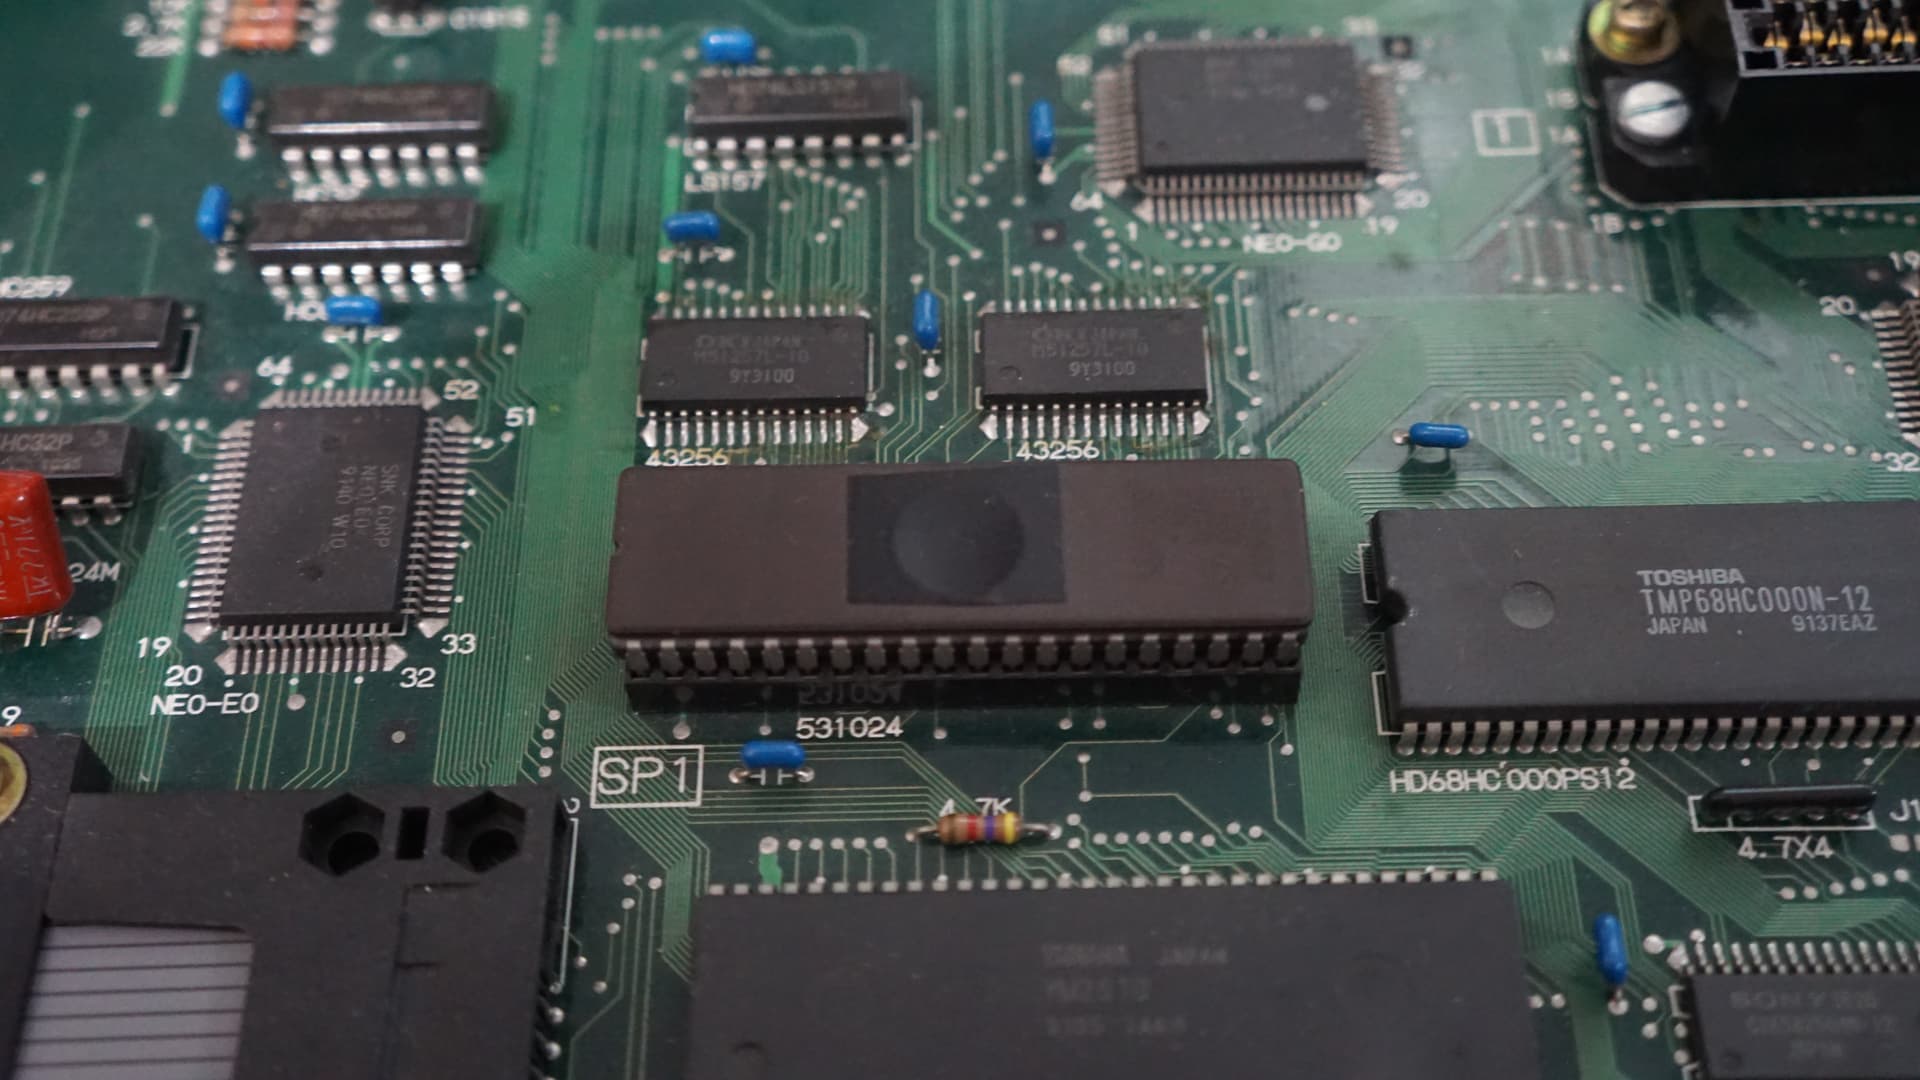
The original battery was leaking so it was removed:

I decided to replace it with a 3.6V NiMH 80mAh Rechargeable Battery:

Since this had an extra mounting leg on the positive side I had to cut one off to solder it flush to the PCB:

The original capacitors for the most part didn’t look too bad but I decided to fully recap it:

The MV-2F comes already fitted with a socket for the BIOS:

So I removed this and replaced it with a Uni-Bios I had programmed to a 27C1024 EPROM:
Using the Uni-Bios allows you to be able to use (then cheap) PCMCIA SRAM Memory Cards instead of having to try to find a expensive official Neo Geo Memory card.
The benefit being the PCMCIA SRAM Memory Cards tend to have an easy access user replaceable battery and a capacitor that prevents data loss when you change it and much larger capacity:

However, you must only access it via the Uni-Bios Memory Card Manager (hold A,B,C&D at boot up):

Another perk of the Uni-Bios is the ability to also be able to store High Scores:

The metal housing for this Neo Geo had become quite rusty:

So I applied some Hammerite Rust Removal Gel:

and after several re-applications and scrubbing we have a rust free housing

This I then applied a white undercoat to the top of the housing:

Left to dry and repeated to the rear:

This was then sprayed black and a gold SNK vinyl was applied giving me the finished product:
