Game Gear Va0 Refurbishment - Power Shorting to Ground Repair:
I currently have a Game Gear that needs a replacement cartridge slot and found a junk Game Gear for sale at £10 as a potential donor.
However, on initial testing the screen display was mostly black with a few thin white horizontal lines on it which was very similar to a previous Game Gear that ended up having an original functioning screen.
This changed my mind and instead I decided to recap it and see if the original screen was salvageable.
So I re-capped it as usual and afterwards the Game Gear just does not turn on at all.
The power board is known to be good but as soon as it is attached to this Game Gear the power vanishes…
After getting out my Multi-Meter I find that the 5v power lines coming directly into the Game Gear are shorted to ground and I have no power coming into this Game Gear.

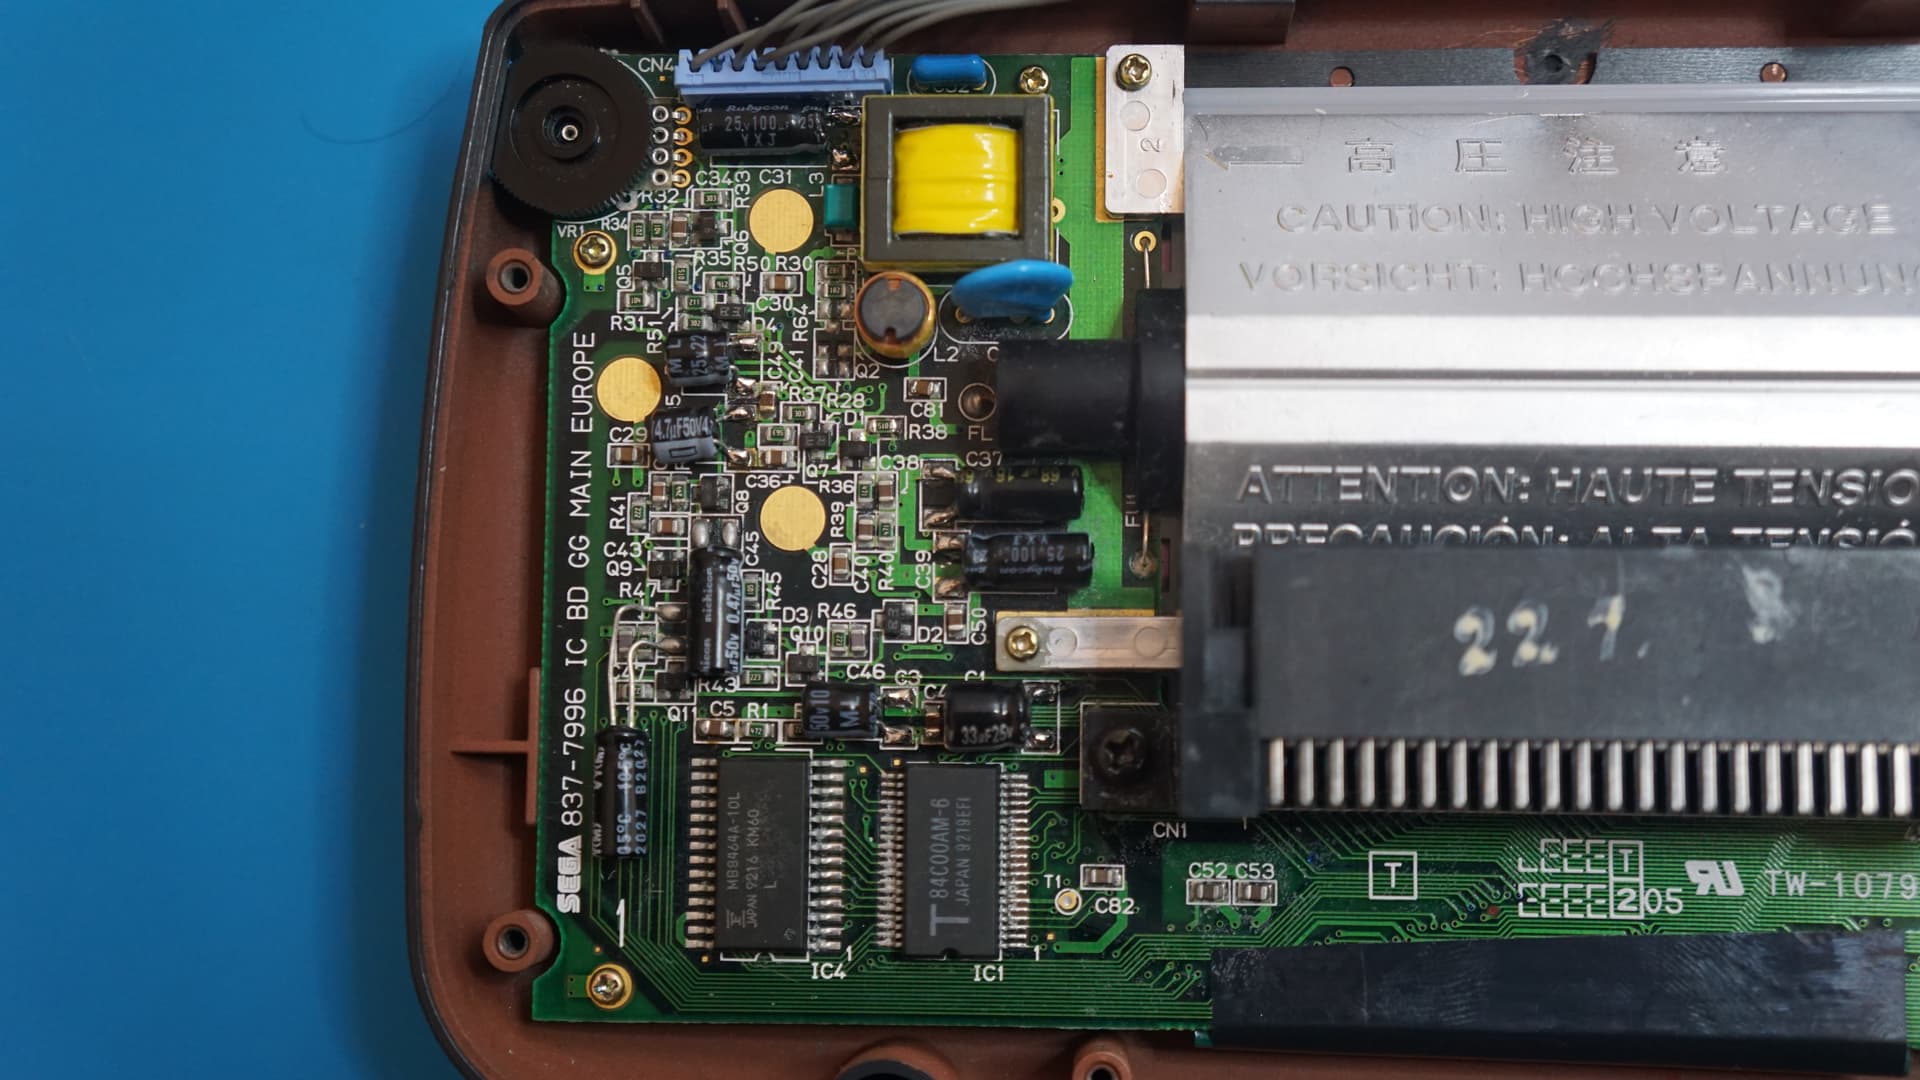
While testing around the front side of the PCB I find that the Q3 & Q4 transistors are shorting to ground:

I also eventually find out that capacitors C1, C3, C5, C19, C31, C50, C81 and resistors R38, R51 are also shorting out:

To make testing easier I de-soldered the power cable and removed to square transformer:

The removal of the transformer stopped transistors Q3 and Q4 from shorting so they could be eliminated as not being the problem.
With the assistance of @Gravitone and the help of some badly scanned official hand drawn schematics, we slowly worked around the board looking for possible causes of the short circuits, beginning from where the power initially comes into the board:

One by one potentially problematic components are tested and any components that are short circuiting are taken out of circuit to eliminate them and to see if the short circuit persists.
Eventually we end up at the power input for the Z80 CPU:

Where I find that the removal of the tiny 0.1µF SMD capacitor solves all the short circuit issues:

I then found a working replacement SMD capacitor from my spares to replace it and then soldered back in everything else that had been removed:
Time to test:

Sadly during the PCB cleaning process I accidentally got some cleaning fluids behind the screen which I noticed as soon as I saw the original screen come back to life:

So I carefully had to remove the already damaged plastic bracket from the screen:

Thankfully I have a spare:

After cleaning away the fluid everything is re-assembled:

Finally after way too much work this Game Gear lives!
To think the whole problem for this Game Gear was just this tiny SMD Capacitor:

If not for @Gravitone’s assistance I am not sure I would have gotten this far any time soon, as it felt like I was banging my head against a brick wall for hours making zero progress, only finding more potential issues. Many thanks man!