This is a re-post of an old GAF thread, added for value on the new Retro community home!
Disclaimer - I am not an industrial chemist and do not purport to be. Perhaps one could chime in and assist should they see this thread. I also don’t claim to have invented any of this, though I haven’t found anyone else using my exact method (and single commercial ingredient). All my info is based on internet reading and experience.
THE PROBLEM
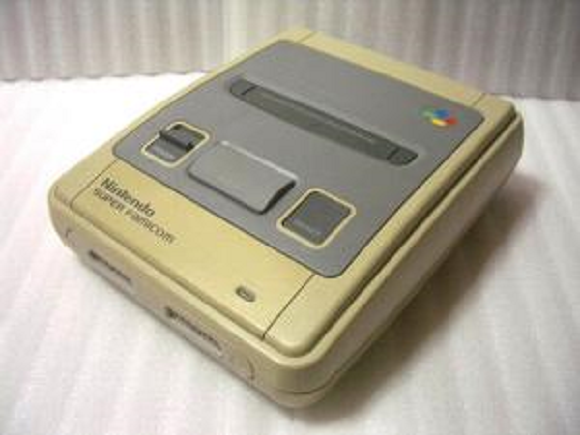
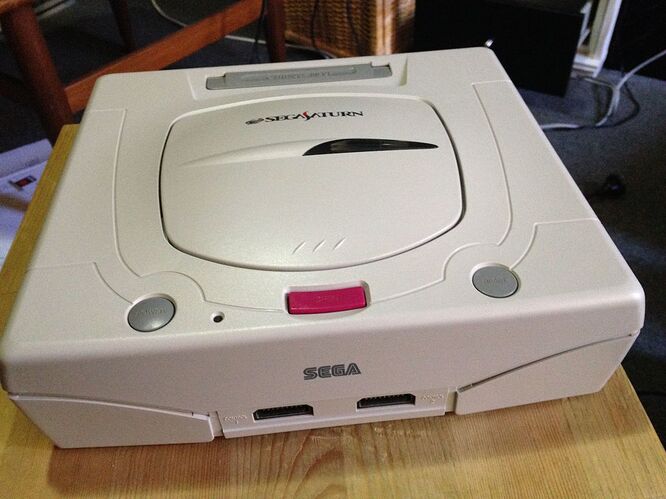
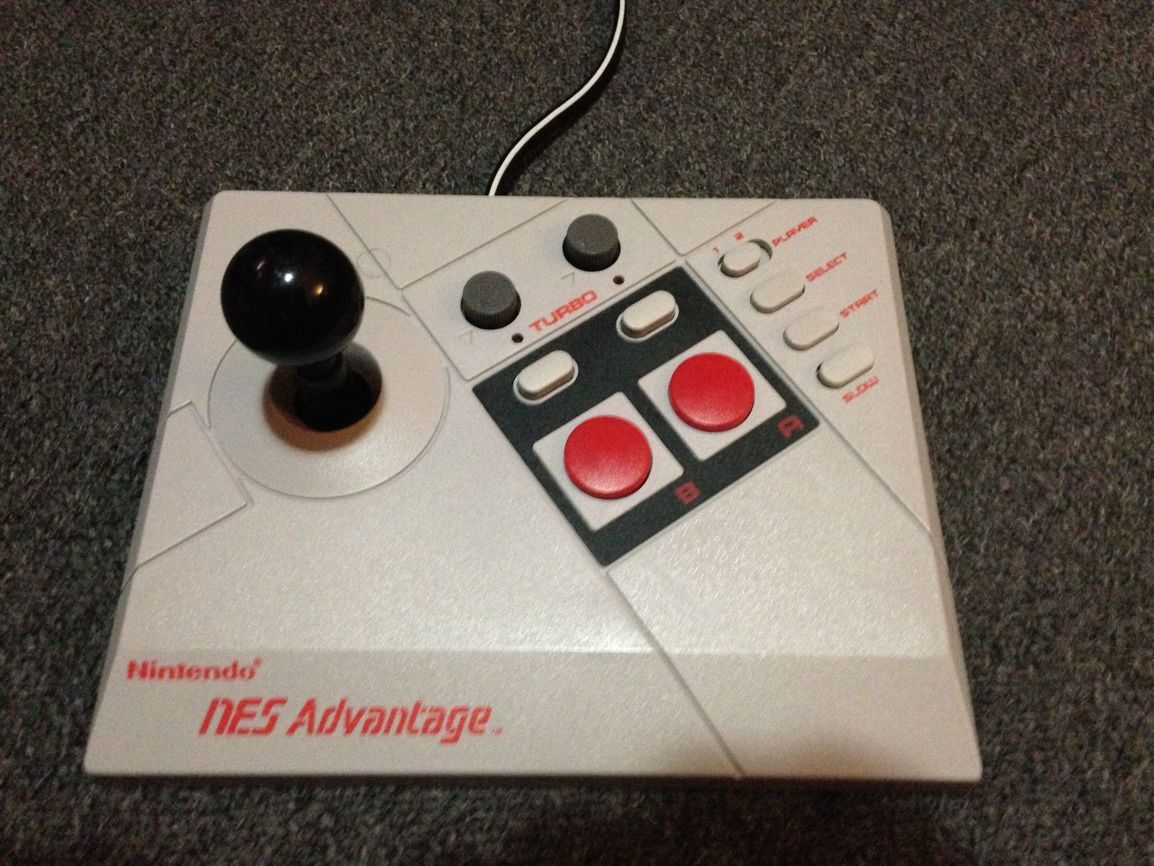
Old plastics yellow over time. It’s especially evident in white and grey plastics, including our beloved 80s and 90s consoles and computers. But it’s true of many coloured plastics as well, they just don’t show it as much. Red and blue items can look ‘tired’ due to the yellowing. Most people assumed the yellowing was ‘ageing’ or tobacco-based damage.
It turns out in most cases it’s maybe caused by bromine, used as flame retardant in the ABS plastic (or maybe not). Over time it forms a stable complex with atmospheric oxygen on the surface of the plastic.
Different batches of plastic for the same device can have different bromine levels, hence the yellowing is often uneven across parts of even the same unit.
The process is accelerated by UV light or heat - hence even the non-UV-exposed inside of consoles can yellow (or even items in unopened packages).
Examples (from the web):


THE HISTORY
It was originally discovered that liquid peroxide combined with UV light (from the sun or a UV bulb) could reverse the process. Originally thought to be bleaching, it’s later been shown that it’s actually just mobilising the bromine on the surface. However, liquid peroxide (and some sort of tank apparatus) is expensive in the large quantities necessary to submerge large plastic parts, and is also fairly messy and potentially dangerous.
Some guys came up with a formula they dubbed ‘retr0bright’ to make a ‘paint on’ paste. It involves liquid hydrogen peroxide, thickeners of some sort, and ‘oxy’ laundry booster as some kind of activator. Retr0bright works, but is tricky, and wasteful (you have to throw out what’s left of an unused batch).
But there’s a much simpler solution, that works even better in my experience, and I haven’t seen it documented on the internet anywhere.
THE SOLUTION (Literally)
Hairdresser hydrogen peroxide developer creme (40vol)
NOTE: NOT liquid, creme developer.
It’s the most concentrated creme developer available, and will burn skin very quickly. USE GLOVES - AND DO NOT GET IT IN YOUR EYES!
But it’s very cheap, easy to get, already a paste, and works perfectly on its own - with no additional ingredients required, and no waste.
THE PROCESS
-
You’ll need sunlight or another UV source, and a safe place to leave the pieces to ‘un-develop’. If not using a UV bulb (I have never tried that), this will obviously need to be done in the daytime.
It works in overcast conditions, but is slower. In hot sunny conditions it works more quickly, but the creme can dry out more easily, and this can cause a ‘blooming’ or ‘cloudy’ effect on the surface of the plastic, which isn’t too bad honestly but you might as well avoid it anyway. -
Open up your consoles, controllers, cartridges etc. You might need special screwdrivers, google your console for this, you can get them pretty easily online.
-
Remove all electrical and metallic components, and separate all plastic pieces.
-
Put your pieces out, and paint on the creme. I recommend plastic gloves - this stuff will burn your skin pretty quickly. I use a cheap paint brush to apply.
Then just leave them out.
- Monitor and re-apply more creme every 1-3 hours (depends on weather - basically so it doesn’t dry out) until the yellow is gone.
In colder, more overcast conditions and very yellowed items, this may take multiple days.
In Sydney Australia I found even very yellowed items have only taken six hours max.
-
Carefully wash and dry each piece, making sure to get the creme out of nooks and crannies - screw holes are a common spot.
-
Re-assemble your new-looking console!
RESULTS
Before
After
Before
After
More ‘after’ shots:
Cover on back not processed, for comparison (please disregard my messy ‘workshop’ (bedroom):
Colours work great too - I didn’t take a clear before of this, but it looked kind of ‘old’ and ‘tired’ and had what looked like light brown ‘burn marks’
Anecdotally I’ve been doing this in some capacity for 4 years, and the piece I did first (with the old method - liquid peroxide), an NES dogbone controller, has been in constant use and is still as strong as it ever was, and hasn’t re-yellowed either.
I’ve been doing this Hairdresser creme method for a few months [years now], and it’s easily the easiest method. But some pieces do seem to re-yellow more easily. I give those ones a bigger blast of the process (longer, hotter sun, more re-applications) to try and get ‘deeper’ into the plastic, and it seems to work better.
Bonus: Famicom Yellowing scale:
Anyway, hope this can help retro-lovers out!
More of this I’ve done:
Sources:
Original GAF Thread
http://www.neogaf.com/forum/showthread.php?t=899984
Best write up I could find with convincing chemistry:
http://www.exisle.net/mb/index.php?/topic/59657-de-yellowing-plastic-the-stain-isnt-permanent-after-all/


