One of the most helpful retro threads ever made…
This is gnarly. I however don’t think I’ll be able to find it here in Toronto. I only need it for saturn controllers though
Apologies for bumping an old thread, but this seemed like the best place to ask some follow-up questions. (Side note, does RGB have any specific guidelines for this?)
Anyway, it’s a sunny day today and I’d like to try this with a fairly yellowed Dreamcast. I’m going to pick up some Salon Care 40 creme and liquid at a local Sally. Any preferences between those two options? I’ve seen the 8-bit guy video and the liquid appears to avoid the streaking problem, but getting enough to submerge the plastic might be tricky. I thought he mixed it with water, though?
Any more thoughts on the longevity of this fix? Or tips specifically related to restoring the Dreamcast shell? I need to replace the rechargeable li-ion battery, too, so I’ll take advantage of having it disassembled.
Creme is easier to deal with but does have blotching risks if you let it dry out, but that can be avoided if no drying occurs - I use cling wrap on pieces and re-apply every 30 minutes on a summer day.
It works and seems to ‘stick’ very well on Dreamcasts - my white Saturn shows some signs of re-yellowing, but a DC done years ago now is still flawless.
Thanks, D.Lo. I ended up opting for the liquid and had pretty good results. I split the top and bottom half of the shell into two different small tubs. Here’s a before/after pic:

I think my phone did some white balance adjustments on the fly because I think it looked even more yellow to start with. Even though the tubs were small, I think I may have needed more developer because the water needed to keep everything fully submerged might have diluted its strength a bit. Also had some “partly cloudy” conditions show up after I had everything set up, so maybe UV wasn’t as strong as it needed to be. When it was all said and done, however, I was pretty pleased. Easily worth the $4.
Also got the new battery holder installed, but still waiting for the LIR2032 batteries to arrive.

When I was putting everything back together, I managed to bump the “open lid” sensor/mechanism and send a piece flying off across the room. Luckily I found it and (after two attempts) got the unit recognizing discs again. Unbelievable. 
1 Like
Looks great, nice work!
Forgot this thread was here but I re-read the OP
It was originally discovered that liquid peroxide combined with UV light (from the sun or a UV bulb) could reverse the process. Originally thought to be bleaching, it’s later been shown that it’s actually just mobilising the bromine on the surface. However, liquid peroxide (and some sort of tank apparatus) is expensive in the large quantities necessary to submerge large plastic parts, and is also fairly messy and potentially dangerous.
For some applications it can be a lot easier to use the “submerge in liquid” approach. Doing this you also avoid potential for streaking and for any pastes drying out.
I found a pretty easy hack around the problem of large quantities hydrogen peroxide being expensive: OxiClean. A lot of the early formulas for retro brite involved OxiClean but it wasn’t really needed given the other ingrediants. However, OxiClean has an interesting property:
One of the active ingredients in OxiClean is sodium percarbonate (Na2CO3•H2O2), an adduct of sodium carbonate (Na2CO3) and hydrogen peroxide (H2O2).[3] This breaks down into hydrogen peroxide when dissolved in water. TAED is often used as activator.
OxiClean - Wikipedia
I did some reseach and if you use enough OxiClean (I used just one scoop for a 4 litre container) you can turn a tub of water into ~4% Hydrogen Peroixde. Then all you need to do is submerge your plastic, leave it in the sun all day, and maybe turn it around once. Almost set and forget.
I had a severely sun-yellowed white limited edition PS2 controller that I tried this on.
Before:

After just 8 hours in the sun:

I left it out for a 2nd day after this to get it closer to the orignal “Ceramic White” and I got to say for me at least this was a lot less intimidating than the going recommendation for retro brighting,
3 Likes
This isn’t necessarily Dreamcast specific so I’ll ask in here instead of the DC thread:
Any good ways to remove crayon? I think it’s crayon at least, a couple marks on the top of the console. I’ve tried baby wipes, clorox kitchen wipes and 93% rubbing alcohol but no luck so far. Magic marker?
Goo Gone perhaps? Want to be careful you don’t use something too harsh.
Something like that “Mr Clean’s Magic Eraser” works really good for. It is effectively a extremely low grit sandpaper though so be careful around emblems/decals and what not.
Thanks for the replies. I always start with the least aggressive method and then ramp up as needed. I’ll check on the magic eraser. I have some goo gone but may hold off on that for now.
I can vouch for the Magic Eraser. I use it for any “mark” on plastic stuff like system cases and carts. It’s wonderful for taking off peoples writing and scuffs. Don’t be scared off by the “low git sandpaper” thing, it’s not going to alter the look of the plastic, it will take off lettering and printed on stuff though if you rub hard enough.
Sounds good, thanks!
Try a bit of baking powder and a dab of water. You can then rub it around with paper towel. It’s a slight abrasive and it doesn’t remove plastic as easy as magic erasers.
You still have to be careful though, as it’s an abrasive.
Works wonders for me.
Ironically, try peroxide creme, as if whitening it. It seems to work as a deep clean for the plastic, it certainly has removed deep grime from items I have done.
I read through this thread and tried the oxiclean idea since it was readily available and cheap as well.
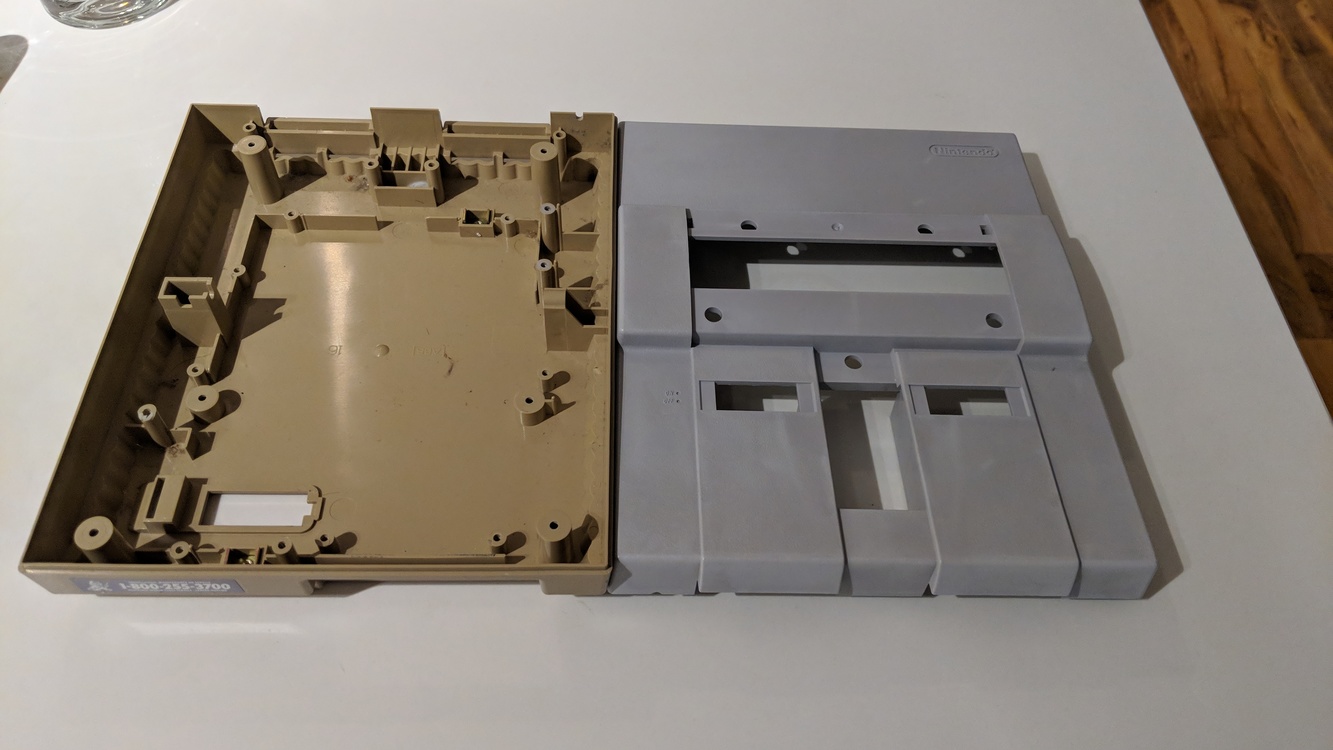
I think it worked
2 Likes
Nice, I need to do this on a SFC controller I just picked up.
another cool use of Magic Eraser is to remove scratches from (non-glossy) LCD screens.
1 Like
Yikes, really? I wouldn’t touch an LCD screen with one of those… They are essentially light sandpaper and will take down the texture of plastics of you’re not careful.
Yes, really, I’m speaking from personal experience. I did it on my 480p Philips 20PF4121 (non-glossy, anti-glare screen) to make two scratches (from its previous owner) invisible when viewed from straight on. I could go further to remove them completely, but I’m happy with it… for now. I removed a third smaller scratch completely.
I learnt about it on YouTube:
