So to get away from that depressing topic and the fact that I am still in the middle of trying to sort out all the locks for the cabinet and running into various stupid little problems which I will post about another time, I’d instead rather talk about the NetDimm I recently purchased from Japan to replace my regular Dimm:
The seller had tested this and showed it was running on 3.17 firmware.
It turned out to be a 256mb model and I wanted to upgrade it to 512mb.
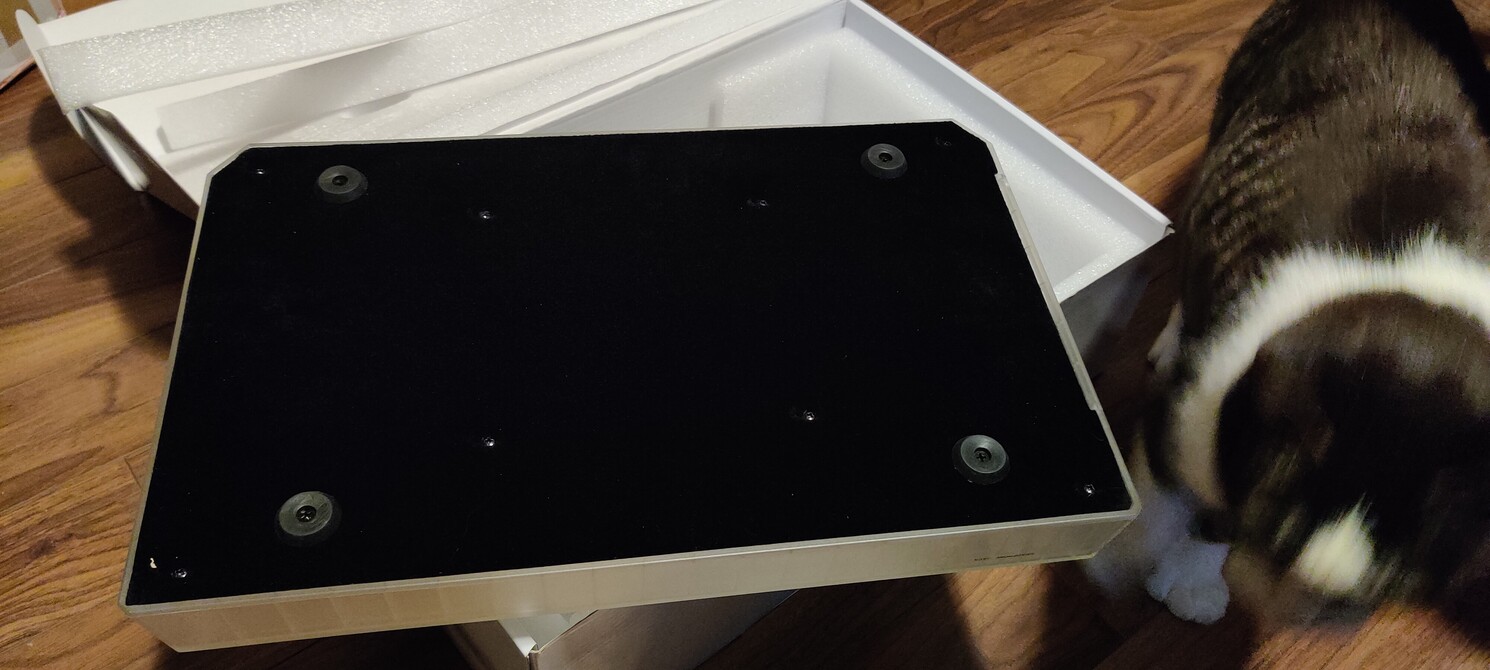
To open it up you need to first remove these three screws (leave the other screw on top of that panel alone):
You can lift that panel out and there is one screw in the middle to also remove and then you can pull up and out the top PCB of the NetDimm:
Then looking underneath there is two more screws to remove:
Then you can pull the bottom PCB out:
Here we can see it is running a single stick of Samsung PC133 CL3 256MB Ram:
I also just happened to have a spare Crucial PC133 CL3 256MB in my PC spare component box:
So lets try to install it:
after a quick test I could confirm it works:
I now have a 512mb NetDimm. 
So, the whole point of getting a NetDimm in the first place was to try to use it to Netboot so first we have to look at certain set of Jumpers on the top PCB:
It was set to GD-ROM Boot so I had to reverse the jumper positions to set it to NetBoot as below:

There are many ways to NetBoot but I choose to use the “WiPi Netbooter” solution as it has a built in time hack that bypasses the need for a Null/Zero Key to be used and allows you to boot games via a nice web interface.
All I needed was a Raspberry Pi 4 Model B (2GB) and a 32GB micro SD card.
The WiPi Netbooter IMG file uses practically the entire 32GB of space and unfortunately a Samsung Evo 32GB micro SD card I had spare could not be used to write that disk image to because for whatever reason Samsung think that 1Mb is equal to even less than the usual 1000kb a lot of others use instead of the true 1024Kb = 1mb.
But I digress with that pet peeve and I went out and bought a SanDisk branded 32GB Micro SD card, which worked perfectly. I then upgraded my firmware to the last official SEGA 4.01 release as I don’t require the extra Compaq Flash or CDR support the hacked firmware can offer.
I did initially try to house the Rpi4 B inside my NAOMI Universal Cabinet which seemed fine until I closed the case lid and started getting low level “popping” interference noise on my speakers which was weirdly much more pronounced on the right speaker for some reason.
I tried a few things but always ended up with the same result, so I ended up just mounting it to the outside of the cabinet placed to the rear instead and running the Ethernet cable through the currently unused lock space.
Oh well, but still a success as I can now boot games over the network:


 Takai Shokai")