I think it looks great!
1 Like
Currently I am on the hunt for a Fighting Bujutsu board…super hard AF to find. Been looking for a year…no luck
1 Like
Everything finally turned up that I required to be able to make my own:
“SEGA NAOMI Universal Extra Button Loom”

Parts List:
- 22 AWG Stranded Wire
- 176279-1 (TE Connectivity AMP Connector) x01
- 175151-1 (Female Socket Contact 22-26 AWG for AMP Connector) x08
- 2.8mm Brass Crimp Quick Disconnect Spade Terminal x12
- 2.8mm Spade Terminal Shield x12
Quite a dull and boring process of crimping a lot of wires to terminals:

I don’t 100% trust crimped connections so I added a little solder to strengthen them all up.
Sorting out the grounds was a little different as I had to string them together for each set of extra buttons:

The current end result is a little messy (I could do with a few more cable ties which I’ll buy tomorrow):

Before with the control panel only wired for 3 buttons:

Now with my extra button loom connected:


And now I can enjoy my NAOMI games more with a full set of 6 buttons!
I actually have enough spares to make another 4 if anyone needs one making up.
5 Likes
Super cool. Awesome idea soldering the connectors.
1 Like
Getting ready to work on my I/O board as I have a stuck 2P Start button:

A closer look at the JVS Input Test showing the stuck button:

To access the I/O we have to take off the bezel and this is done first by popping out 4 clips.
You have to push them forward and apply some pressure to the clip in the center at the back:

You then reveal 4 T30 Security Torx Screws you need to remove:

Then you need to open up the control panel:

and remove two more screws:

You can now remove the Bezel:


We can now access the SEGA I/O:

Close up:

There is 4 connectors, a USB cable and 4 screws to disconnect before you can lift the I/O out:
I/O removed:

This needs a bit of a clean up. I quickly ESR tested the capacitors and looks like 3 potentially should be changed. Sadly I do not have any on hand so will have to get those ordered.
Now I need to figure out which PS2801-4 IC controls 2 Player Start and replace that IC.
4 Likes
This probably should go in my repair logs but let’s finish here what we started:
Pin 18 of the 60pin connector is 2 Player Start and using my multi-meter in continuity mode I trace it to this PS2801-4 IC:

Getting ready to remove the IC but protecting the area around it with Kapton Tape:

I add generous amounts of flux and apply new solder to the IC Pins and then using hot air I remove the IC:

The removed IC:

I now clean up the extra solder and flux from the PCB pads:

Then I place the IC and tack down one leg on each opposing side of the IC and add generous flux:

I then solder it in place and remove the Kapton tape:

Finally using Isopropyl and a toothbrush I clean up the work:

Now let’s test:

Close up:

Success.
2 Player Start is no longer stuck and now functions properly in game!
5 Likes
Success! Awesome to see that you fixed that. I have a Genesis with a stuck right direction I put that I haven’t been able to fix. Pretty sure it’s a fault in the IC.
1 Like
Yeah that certainly is an IC issue.
You can probably source a replacement easily and cheap enough so give it a try?
nice work!
2 Likes
I noticed at work today that the fluorescent tube light bulbs we use in our fridges look about the same size as the one in my SEGA NAOMI Universal Cabinet, so asked a manager if I could take one and got the go ahead!


As usual you need to remove the front bezel:

But you are not able to pull it out from the front. Instead you have to locate 4 T20 security torx screws on the rear of the marquee which need to be removed (two from one side pictured below):

The marquee then lifts off, but is attached by a ground wire:

You can then pull off the end caps from both sides of the bulb:

You can then lift the bulb upwards out of the clips to remove it:

Old bulb which has some burning versus new one:

New one installed and powered up:

Much brighter and most likely more power efficient.
Also on the rear of the marquee header there is a service sticker:

It is in bad shape but I want to keep it for the history!
5 Likes
Looks great!
impressive
Pulled out the SUN 400-5397-01 PSU today so I could create a capacitor list:


Opens up rather easily as only 3 screws holding the top of the PSU case in place:

Then just another 4 screws to pull out the PCB:

During the creation of the capacitor list and map I decided to do ESR checks and well one thing led to another and a recap started after finding way too many bad capacitors…
Three capacitors were pretty much dead and somehow the other remaining capacitors in the series were picking up the slack and allowing the PSU to continue to function:


Sadly from the parts I currently have on hand I could only 70% recap the PSU so I’ve had to order some more replacement capacitors that I can pick up tomorrow.
So yeah, that is where I currently am…
2 Likes
Awesome! It’s crazy that the PSU was still working in that condition.
1 Like
Small update. Went and fetched the remaining capacitors earlier today.
These were all removed and replaced:

The only capacitor I did not replace was the main filter capacitor as this was in very good shape and these larger type of capacitors don’t often fail anyway.
I also reworked a fair few solder joints on the bottom of the PCB that looked a bit suspect.
Re-Capped PSU:

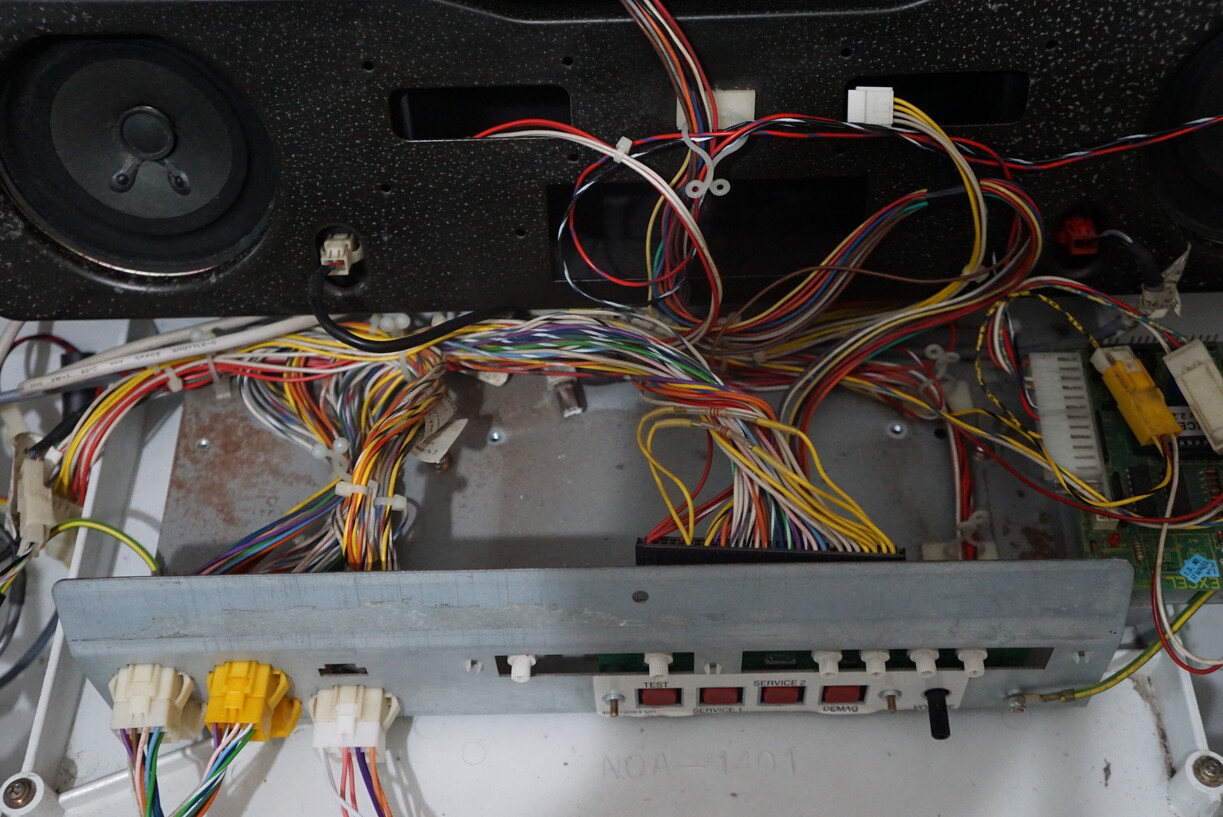
This is the tray that the PSU was attached to (Audio AMP on the right):

Re-affixed the PSU after also removing some rust:

After sliding the tray back in and screwing it back down on the top along with a ground wire, there are two more screws to secure the tray in place pictured below:

And the access hole to adjust the 5v and 3.3v rails:
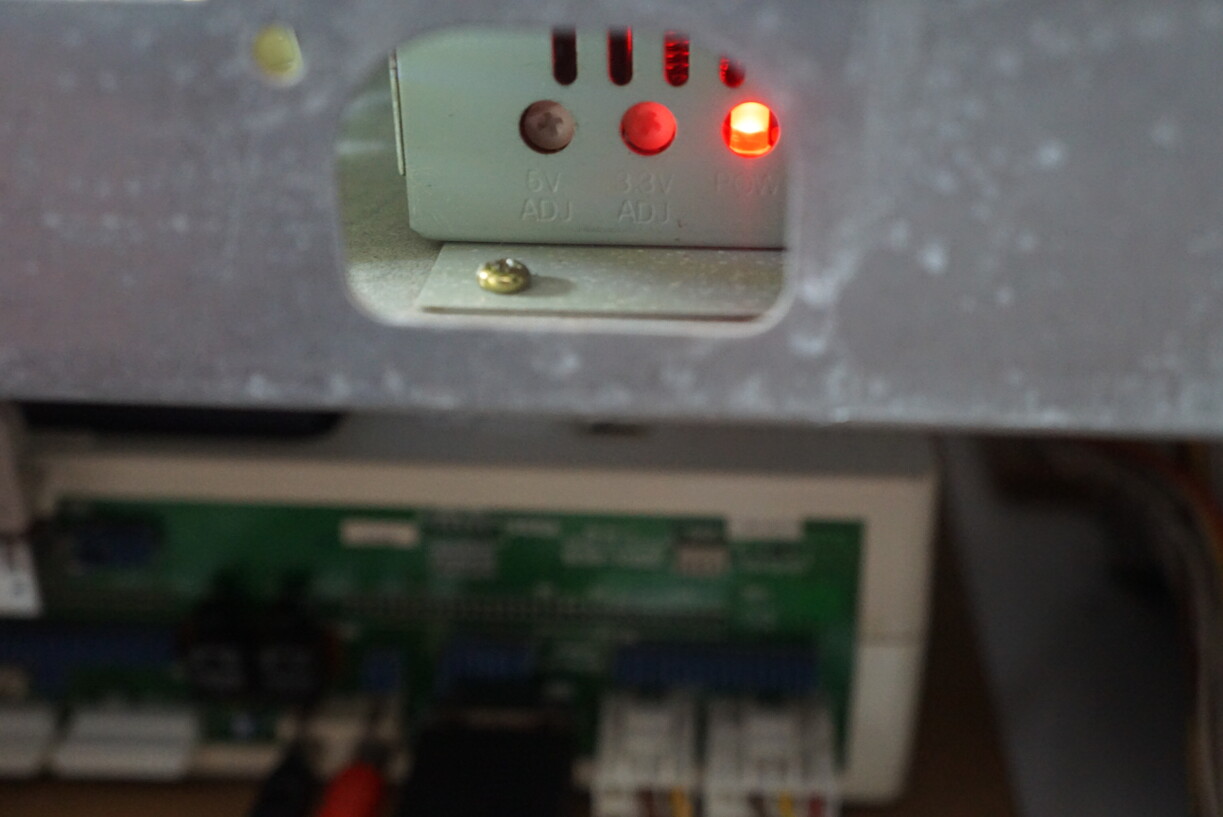
Rather happy with the result and the voltages are all re-adjusted to suit my NAOMI.
Next up I need to look at re-capping the SEGA I/O board and a bit of a side diversion incoming.
Probably should check out the audio amp sometime as well.
3 Likes
I just bought a Crypt Killer PCB. ROM tests pass but hard drive is dead. Not sure how I am going to fix that. Probably SCSI2SD but I need to see the pinout first since it uses a 2.5 inch SCSI drive.
I really wanted to find a working model so I didn’t have ANOTHER project board but the price was right and I haven’t seen a working model come up for sale in a long time
Sigh…lol
3 Likes
Another I really should probably compile in to my repair log thread but for now let’s continue here.
Finally measured all the capacitors on my SEGA I/O:
My compiled results after testing:
Removed old capacitors and cleaned up contacts:

Removed capacitors:

Panasonic Replacements:

Job finished:

Re-inserted into the NAOMI Universal Cabinet for testing:

Yup seems all good:

3 Likes
After a long will I get it or won’t I get it period of close to two months of waiting for a collection and delivery the replacement monitor I bought for my SEGA NAOMI Universal cabinet turned up:


A 27" viewable (US measurement) Wells Gardner Tri-Sync Monitor.
Sadly due to it being a flat screen I will have to back mount the monitor and I will also have to switch the frame over from the old monitor onto this.
So quite a bit of work to do to get this fitted and likely will have some small gaps around the center of bezel afterwards.
Will give it an out of cabinet test later and going to arrange a friend to come over to assist with the transplant as this thing is heavy.
4 Likes
Really sucks there’s no way to deal with burn in other than replacing the whole CRT. I wish there were just a way to revive that part of the screen somehow.
But good luck with the new monitor. Your cab is going to be even more amazing when that’s done.
3 Likes
Stoked for you! Can’t wait to see it working.
2 Likes