These ships are proving to be more difficult and time consuming than I thought they would be. About half way done the first one.

First 2 ships are complete, starting work on the 3rd ship.

Rebuilding the bottom and front panels of the cabinet, as they were damaged really badly.


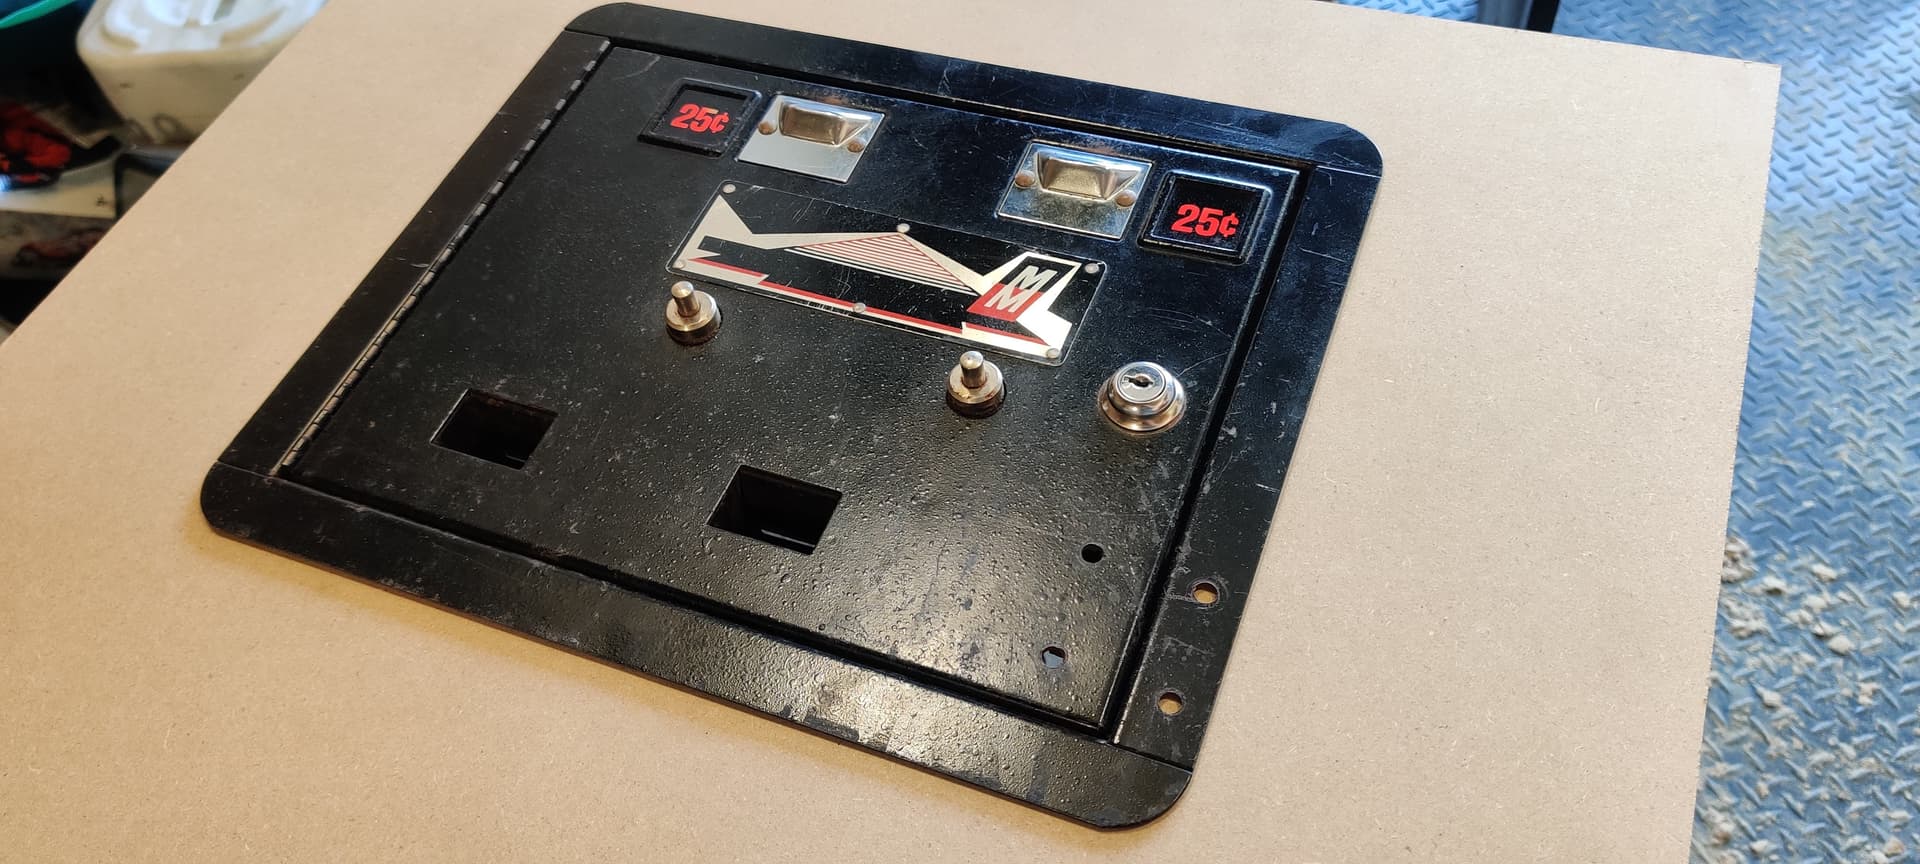
Front panel progress. Routed all the bits out so the stock coin box will fit in there. Got some matched paint for it, and the coin door fits nice!


Bottom panel progress. Cut out the wells for the wheels, and before attaching all the old hardware I sanded all the rust off and painted them black. The wheels were really chewed up but you know what they say… it’s only original once! Instead of buying new ones, I put them on my drill and sanded them down nicely so they don’t mark up my floor. This should serve me well.


I had to tear the cabinet down entirely to make sure I repair the thing correctly, and also so I can glue up the sides in all places as I put it back together. Turns out that they used these stupid metal clips to put some of the cross-braces in there, and they like to rip out a ton of old wood as you pull them out. Pain in the ass… will have to patch that up and re-route the grooves.


Ordered some new buttons, sticks, and a USB controller.


5 Likes
Great work and documentation so far!
I’m in the process of restoring an OR UR as well and my kick plate looks as bad as yours. It would be great to finally have an arts shop offering this. Let me know if I can help you with any photos or comparison questions you might have.
1 Like
Nice! How does the bottom-most ship look on yours? I don’t have any good photos of that, so there is some guess work.

…and here’s a picture I found that might reduce the guess work but the resolution quality isn’t that great.

I have never done a graphic reproduction like you, but if I can help in any way (I also like to learn new tools) or provide more high-res photos from my scrachted cabinet, let me know.
Yeah I’m actually already working with that 2nd one you found with photos of mine. It’s not a great setup.
If you could take a shot as straight on and as high quality as you can of yours, that would be a huge help.


Let me know if that helps or if you need an even closer picture from certain areas.
The original pictures have around 5,5mb each. Perhaps this forum does an automated resize…
That’s awesome thank you, should be very useful!
1 Like
Just curious. Any progress/update on that OR Kickplate artwork?
Working on the machine in the evenings again now that it’s summer, so I’ll have more updates soon.