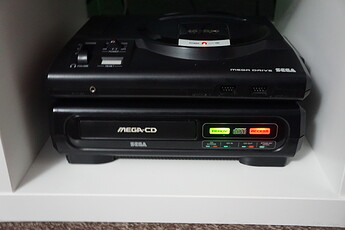
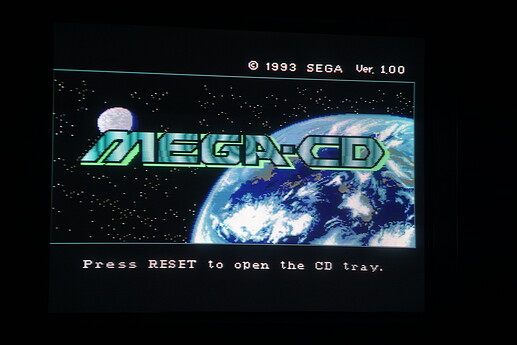
SEGA Mega CD Model 1 Refurbishment:
I recently purchased this PAL Mega CD and like with the Game Gear these are notorious for having bad capacitors that should be replaced, so a refurbishment was in order:
SEGA Mega CD 1690-18 Recap:
After opening up the Mega CD and gently removing both the ribbon cables I was able to remove the main motherboard PCB of the Mega CD:
Since the ML2016 T25 Rechargeable Battery (25 mAh) was dead and because I wanted to socket the BIOS chip I removed both of them along with all the capacitors in one go:
It was hard to notice until the capacitors were removed but the majority of the SMD capacitors had been leaking and causing some corrosion to the contact pads and especially bad are that the C41 and C47 had caused some corrosion to occur on some of the BIOS via’s:
SEGA Mega CD Motherboard PCB Capacitors
![]() C41 10µF 16v SMD LEAKING!
C41 10µF 16v SMD LEAKING!
![]() C42 10µF 16v SMD
C42 10µF 16v SMD
![]() C43 10µF 16v SMD LEAKING!
C43 10µF 16v SMD LEAKING!
![]() C44 10µF 16v SMD
C44 10µF 16v SMD
![]() C45 10µF 16v SMD LEAKING!
C45 10µF 16v SMD LEAKING!
![]() C46 10µF16v SMD LEAKING!
C46 10µF16v SMD LEAKING!
![]() C47 10µF 16v SMD LEAKING!
C47 10µF 16v SMD LEAKING!
![]() C48 10µF 16v SMD
C48 10µF 16v SMD
![]() C49 10µF 16v SMD LEAKING!
C49 10µF 16v SMD LEAKING!
![]() C50 10µF 16v SMD
C50 10µF 16v SMD
![]() C51 100µF 6.3v
C51 100µF 6.3v
![]() C52 100µF 6.3v
C52 100µF 6.3v
After measuring the original SMD capacitors I was able to find some Nichicon UWX1C100MCL2GB SMD capacitors that are suitable drop in replacements. Sadly these parts are now EOL so stock is limited.
Since these SMD capacitors are tiny (only 3mm Diameter x 5mm Height) they are difficult to work with, so unless you are a bit OCD like me it is probably best just to go with mini electrolytic replacements.
NOTE: Care needs to be taken when removing and replacing the capacitor at position C51 because a resistor is soldered to it underneath the PCB.
I also removed all the capacitors from the Power PCB:
SEGA Mega CD Power PCB Capacitors
![]() C1 10µF 16v
C1 10µF 16v
![]() C2 10µF 16v
C2 10µF 16v
![]() C3 10µF 16v
C3 10µF 16v
![]() C4 10µF 16v
C4 10µF 16v
![]() C5 10µF 16v
C5 10µF 16v
![]() C6 10µF 16v
C6 10µF 16v
![]() C7 10µF 16v
C7 10µF 16v
![]() C8 10µF 16v
C8 10µF 16v
![]() C9 10µF 16v
C9 10µF 16v
![]() C10 10µF 16v
C10 10µF 16v
![]() C11 10µF 16v
C11 10µF 16v
![]() C12 10µF 16v
C12 10µF 16v
![]() C13 10µF 16v
C13 10µF 16v
![]() C14 10µF 16v
C14 10µF 16v
![]() C40 100µF 6.3v 105c
C40 100µF 6.3v 105c
![]() C41 100µF 6.3v
C41 100µF 6.3v
![]() C42 100µF 6.3v 105c
C42 100µF 6.3v 105c
![]() C43 100µF 16v
C43 100µF 16v
All the capacitors on the power board tested good with only a couple around the voltage regulator heat sink having any slight variance but well within acceptable he 20% tolerance.
There are also a few capacitors on the optical drive PCB but at this moment in time I am not going to touch them while the optical drive is functioning.
My take away from this recap is that you can probably ignore recapping the power board but you should 100% remove and replace all the original 10µF 16v SMD capacitors as soon as possible!
I now soldered in a socket for the BIOS chip and re-assembled the Mega CD for a quick test:
and everything was working as expected!
Modding the Mega CD for Multi Region BIOS loading:
With the original BIOS removed I now needed to dump its data contents:
To do this I inserted the BIOS Mask ROM into my TOP3000 universal programmer and set it to 27C1024:

As with SEGA Mega Drive Mask ROM’s the dumped data needs to be byte-swapped to be readable:

After byte-swapping my BIOS dump I got a CRC of: 529ac15a which is identical to other PAL Mega CD 1 BIOS files you can find preserved online.
At this point I could have just burnt a modified universal SEGA Mega CD BIOS. However, there are apparently some minor and very trivial issues with doing that and since my Mega Drive is region modded already I decided I would create a multi-BIOS that would change the Mega CD region based on what region my Mega Drive is set to.
For this I needed to use a 27c4096 EPROM which could hold all three region BIOS ROM’s and use its bank selecting legs 38 and 39 to toggle between them.
This would be achieved by connecting leg 38 to JP3 or JP4 (video) on the Mega Drive and connecting leg 38 to JP2 or JP1 (language) to leg 39 as follows:
| DATA BANK | LEG 38 | LEG 39 | REGION |
| BANK 01 | Ground | Ground | USA |
| BANK 02 | +5 Volt | Ground | JAPAN |
| BANK 03 | Ground | +5 Volt | PAL |
| BANK 04 | +5 Volt | +5 Volt | USA |
With this figured out I obtained the original USA SEGA CD BIOS and a Japanese Mega CD BIOS from online and byte-swapped them ready to be used.
Then in BINman I loaded them into each file slot in the correct order along with my original PAL BIOS dump:

and then combined them altogether:

This gave me a 4Mbit file with the CRC of ffa52927 that was ready to be programmed to the 27C4096. Leg 38 and 39 then needed to be bent upwards before being inserted into the BIOS socket:
We now need to make a connection from the Mega CD to the Mega Drive utilizing some unused pins on the expansion connectors.
- Expansion Connector PIN 4 needs to be connected to LEG 39 of the 27c4096
- Expansion Connector PIN 6 needs to be connected to LEG 38 of the 27c4096
NOTE: After doing this make sure to bend legs 38 & 39 down the outside of the socket otherwise they could potentially short on the metal shielding when everything is put back together.
We now need to look at the interconnecting piece of the Mega CD:
This needs opening up:
The Ferrite bead around the PCB needs to also be removed which just clips together:
On the reverse of the PCB carefully lift up the ceramic capacitor that is in the way and solder wires connecting expansion ports pin 4 and 8 between both connectors in parallel:
With the wires in place you will not be able to re-assemble this interconnect and we need to modify its housing slightly by filing a 10mm wide space with a 2mm depth at around 12mm from the left hand side:
The Mega CD now can be re-assembled.
Finally on the Mega Drive side we need to solder two wires between the expansion connector over to the JP jumpers:
- Expansion Connector PIN 4 needs to be connected to either JP1 or JP2
- Expansion Connector PIN 6 needs to be connected to either JP3 or JP4
With everything put back together and hooked up:
Mega Drive region switch set to PAL:
Mega Drive region switch set to USA:
Mega Drive region switch set to JAPAN:
NOTE: Switching Mega Drive regions while the Mega CD is powered up is not advised and can lead to the Mega CD crashing. So Power off the Mega Drive before changing regions.


